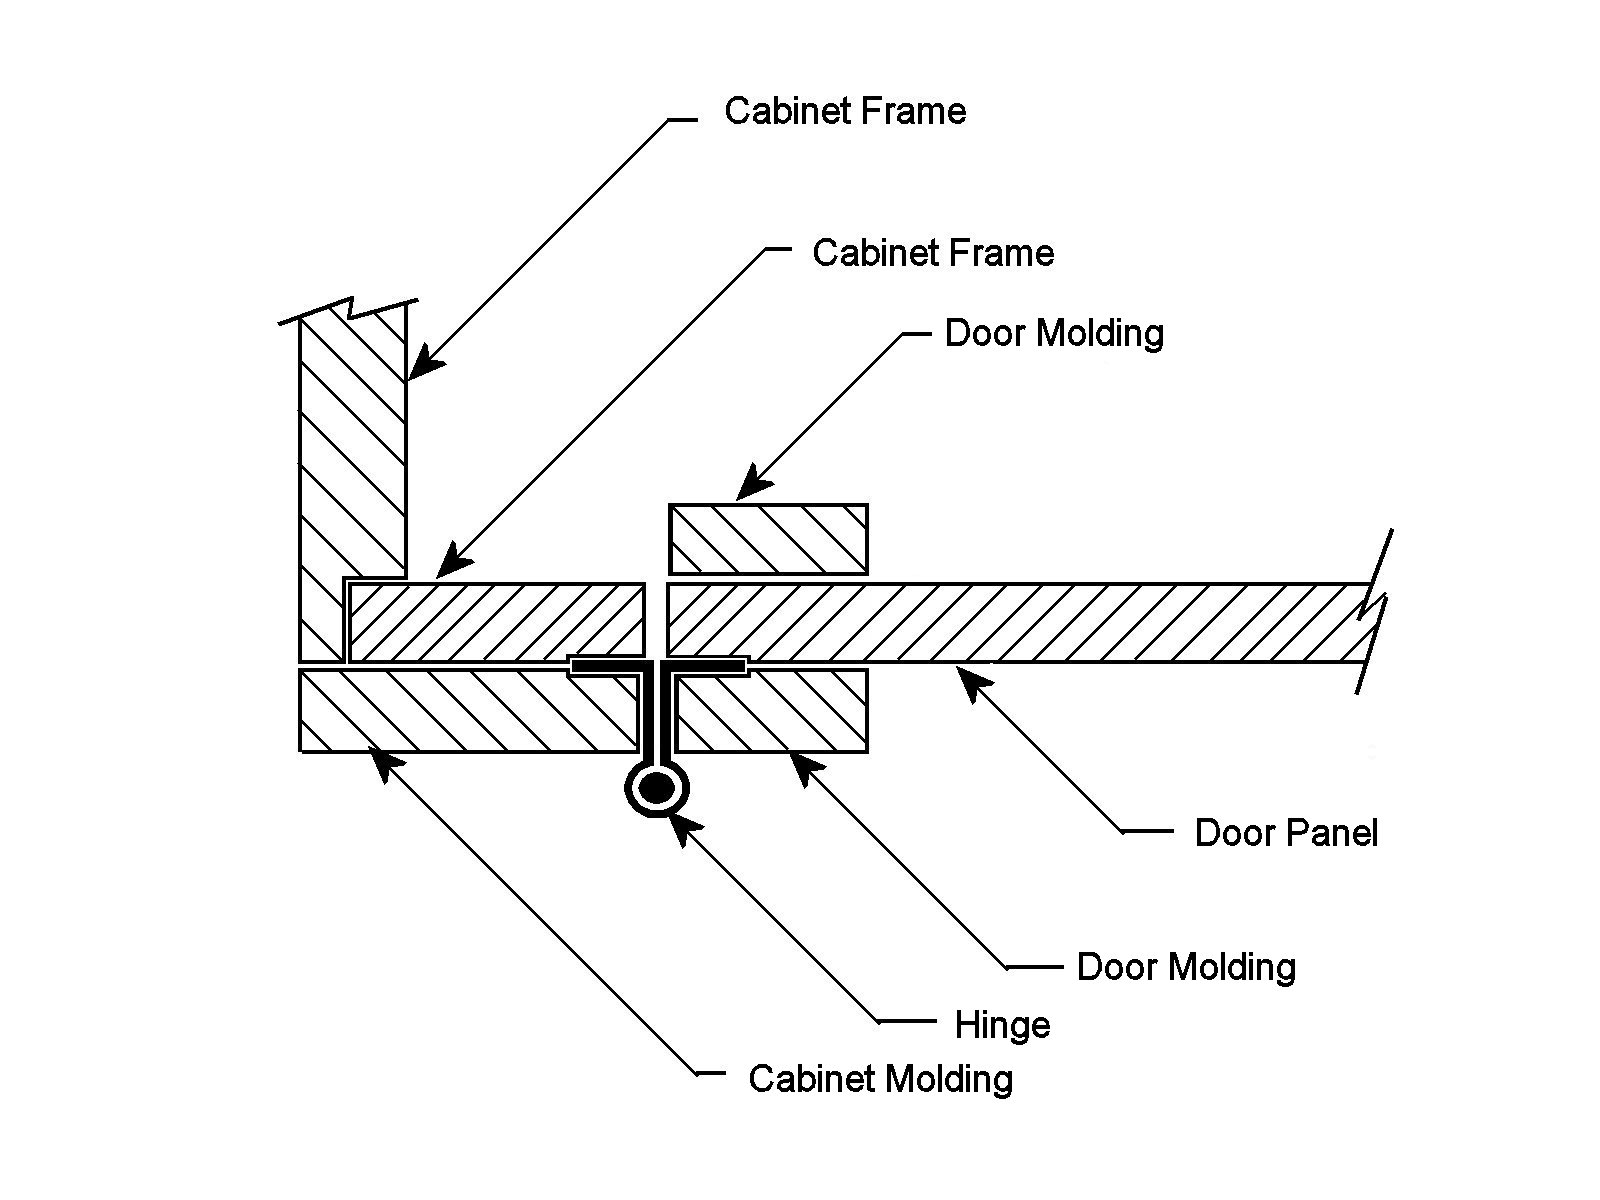
A crossection
of a typical cabinet is shown on the drawing to the right. The door of
the cabinet was made from a single sheet of 1/16" maple. The door
molding was then added to hold the hinges in place. The cabinet molding
was then added to hold the hinges in place on the cabinet side of the
hinge as shown in the drawing.
|
 |
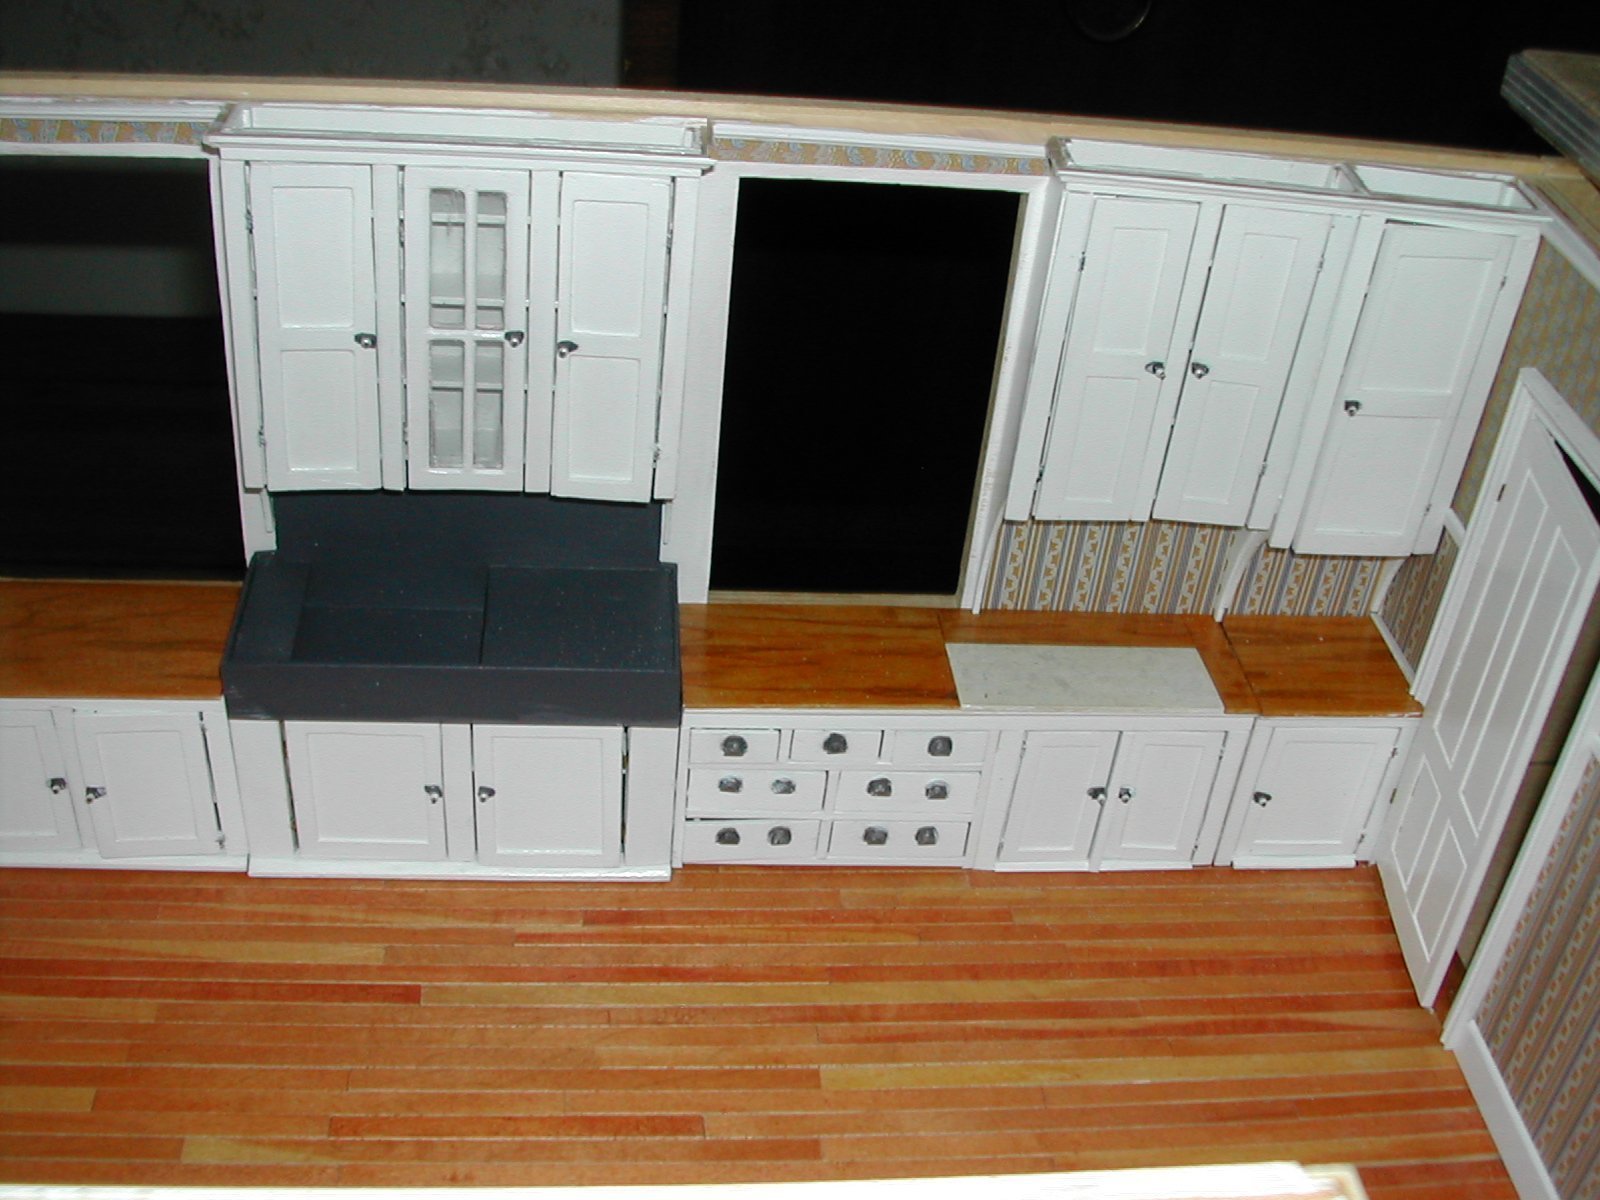
Here is the long wall of the
kitchen cabinets and drawers. You can see that the windows are not as
yet installed, nor is the faucet or drain hole in the slate sink. The
light gray section of the counter top is a piece of marble in the real
house, painted to look like marble in the miniature. This was a feature
in many old kitchens. Because marble always feels cool to the touch, it
is an excellent surface upon which to roll out dough for baking pies
and cookies.
|
 |
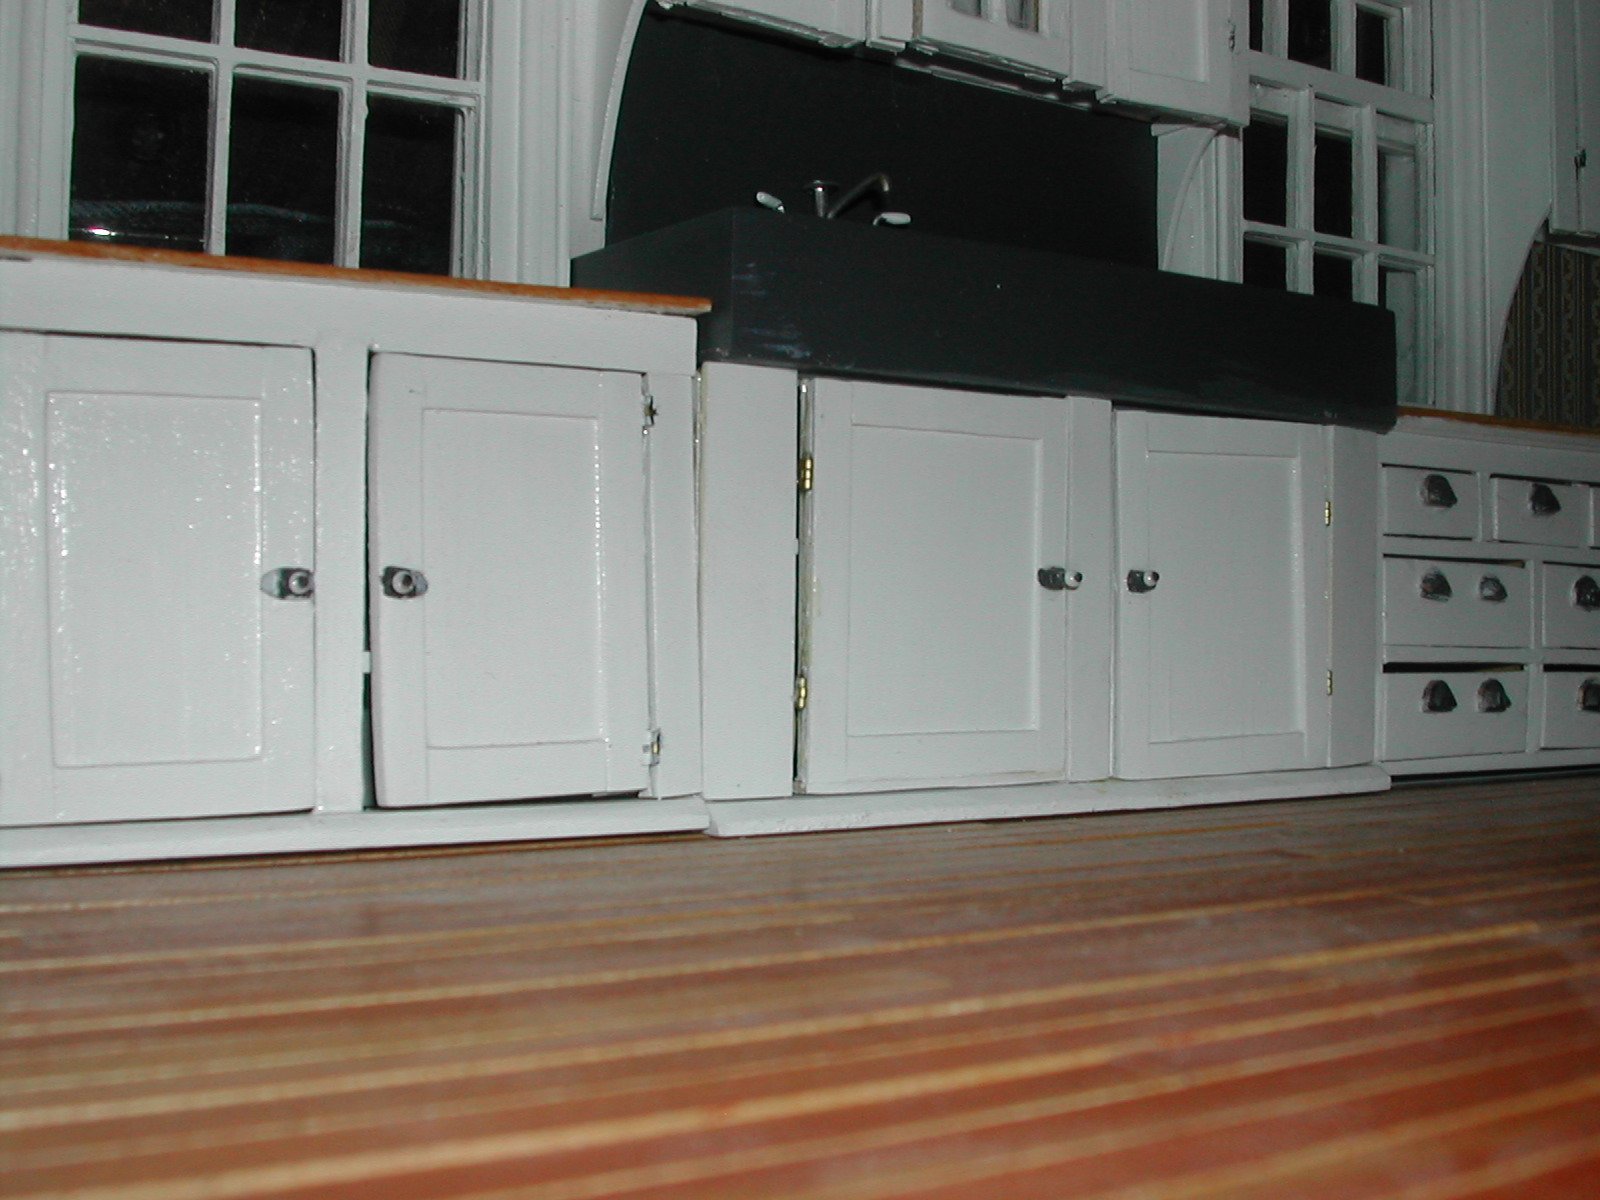
In this photo you can see the
addition of the sink faucet and a view of the lower cabinets. You can
also note the curved molding that reaches from the counter top to the
sides of the cabinets. It is avery graceful line connecting the
two parts. Note that the windows are now in place.
|
 |
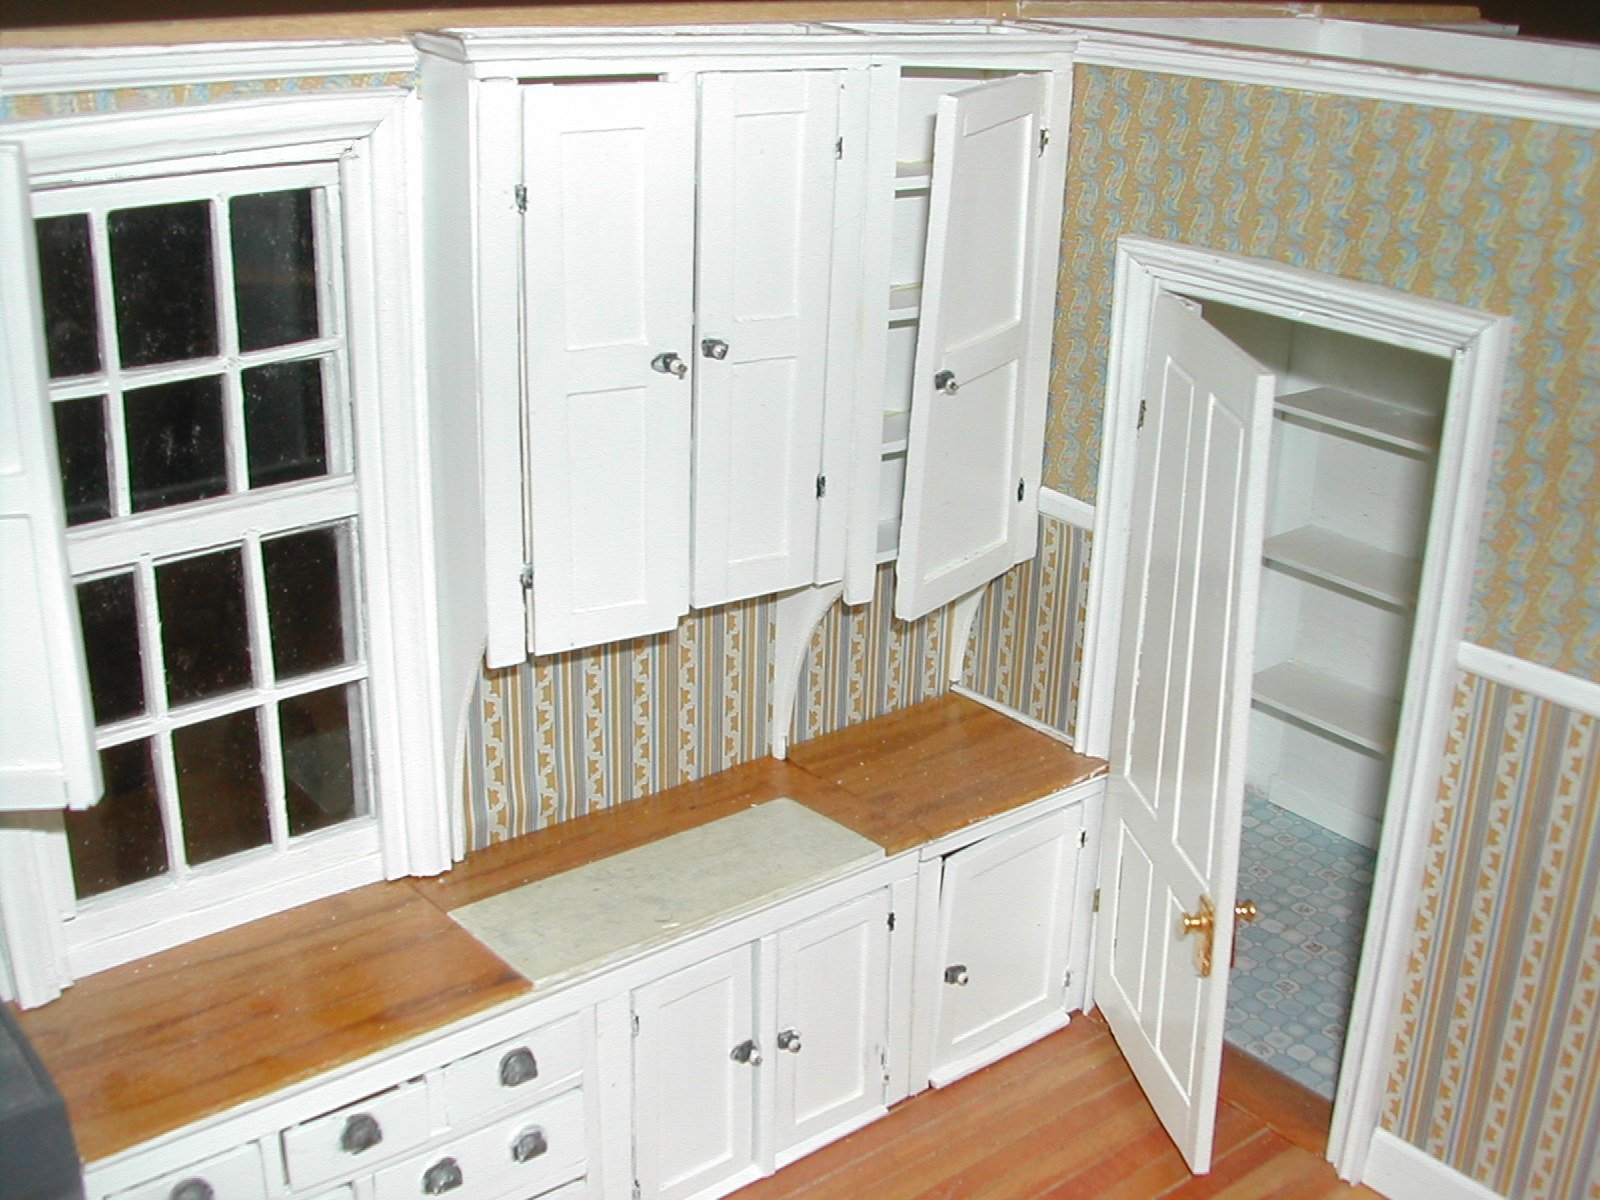
Perhaps this view shows the curves
more distinctly. They run the entire length of the cabinet work.
In the full size house, we copied the look when we built a unit to hold
the microwave/convection oven over the stove on the wall to the
right of the pantry door.
|
 |
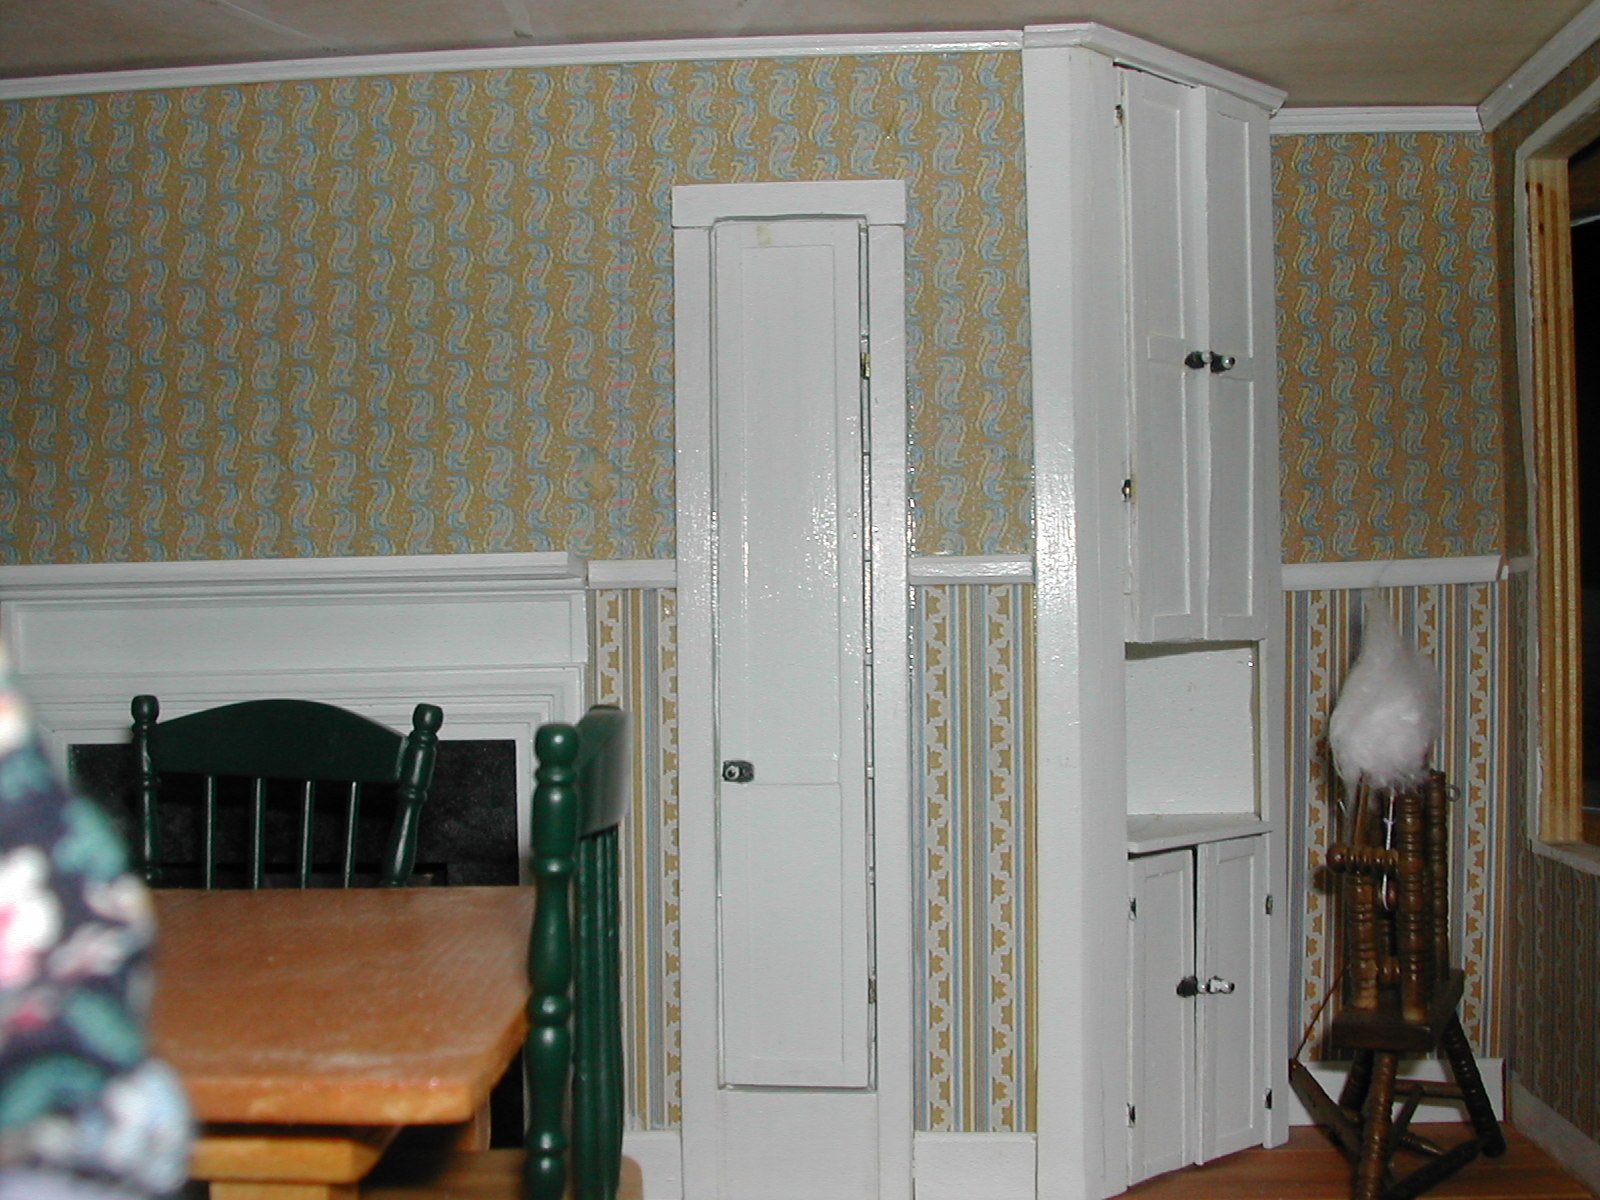
More cabinet work is on the
opposite wall in the kitchen. The long door behind which an ironing
board had been is now a shallow cabinet with shelves to hold jars of
spices. To the right, the wall angles to use the space created by the
chimney wall. Here a triangular corner cabinet offers extra
storage as well as a
decorative open section to hold more attractive pieces of pottery.
|
 |
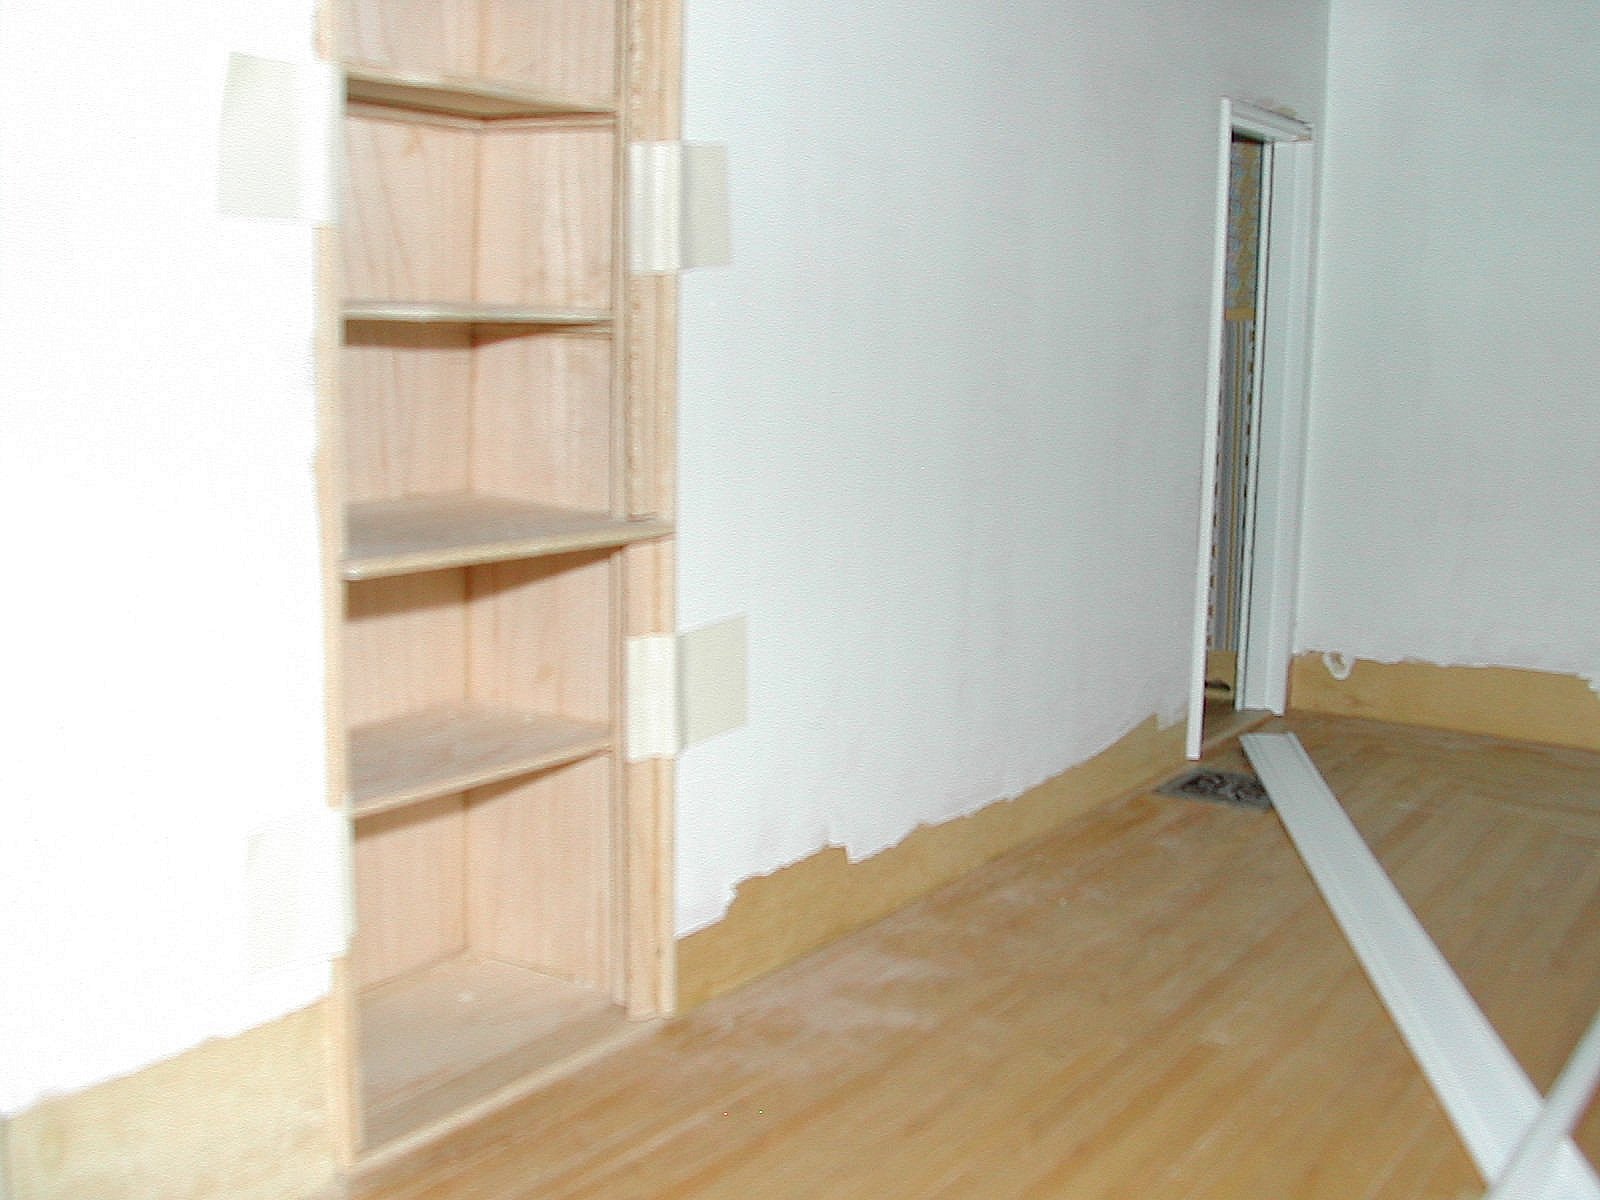
This photograph shows the beginning
of the building of the dining room china cabinet.
|
 |
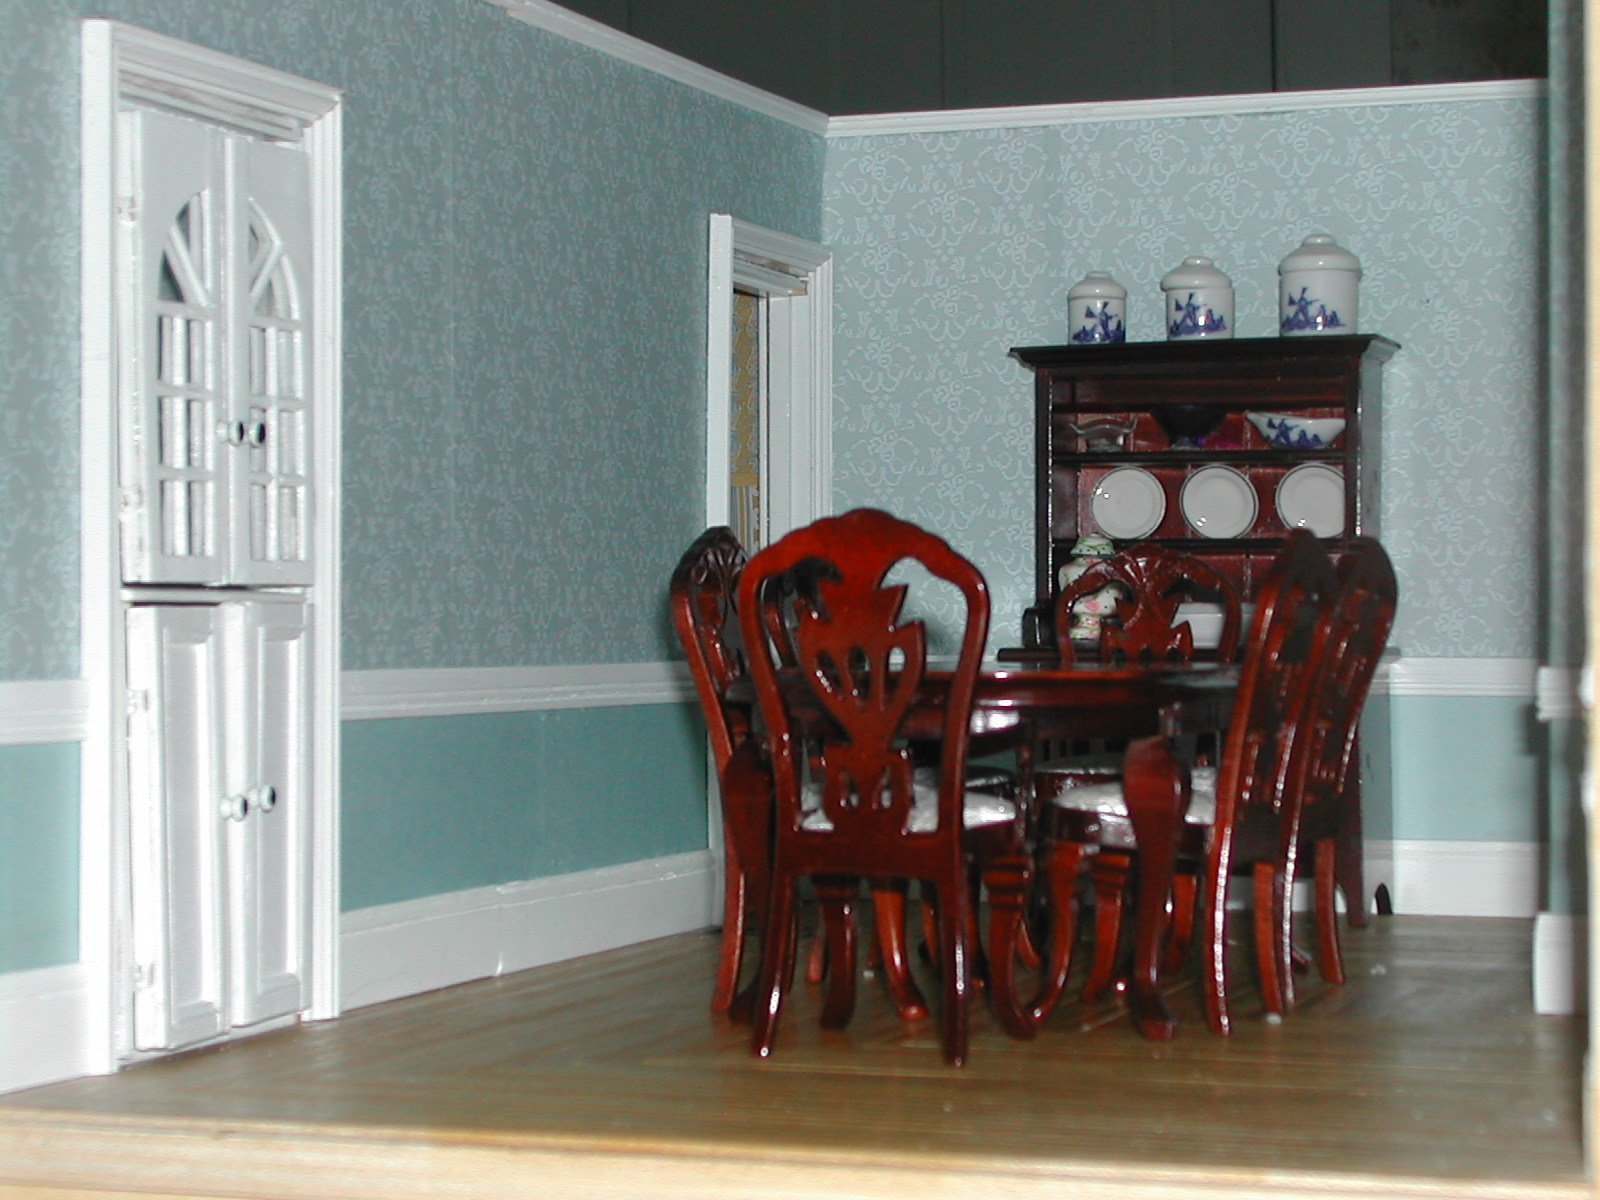
And here it is, completed.
|
 |
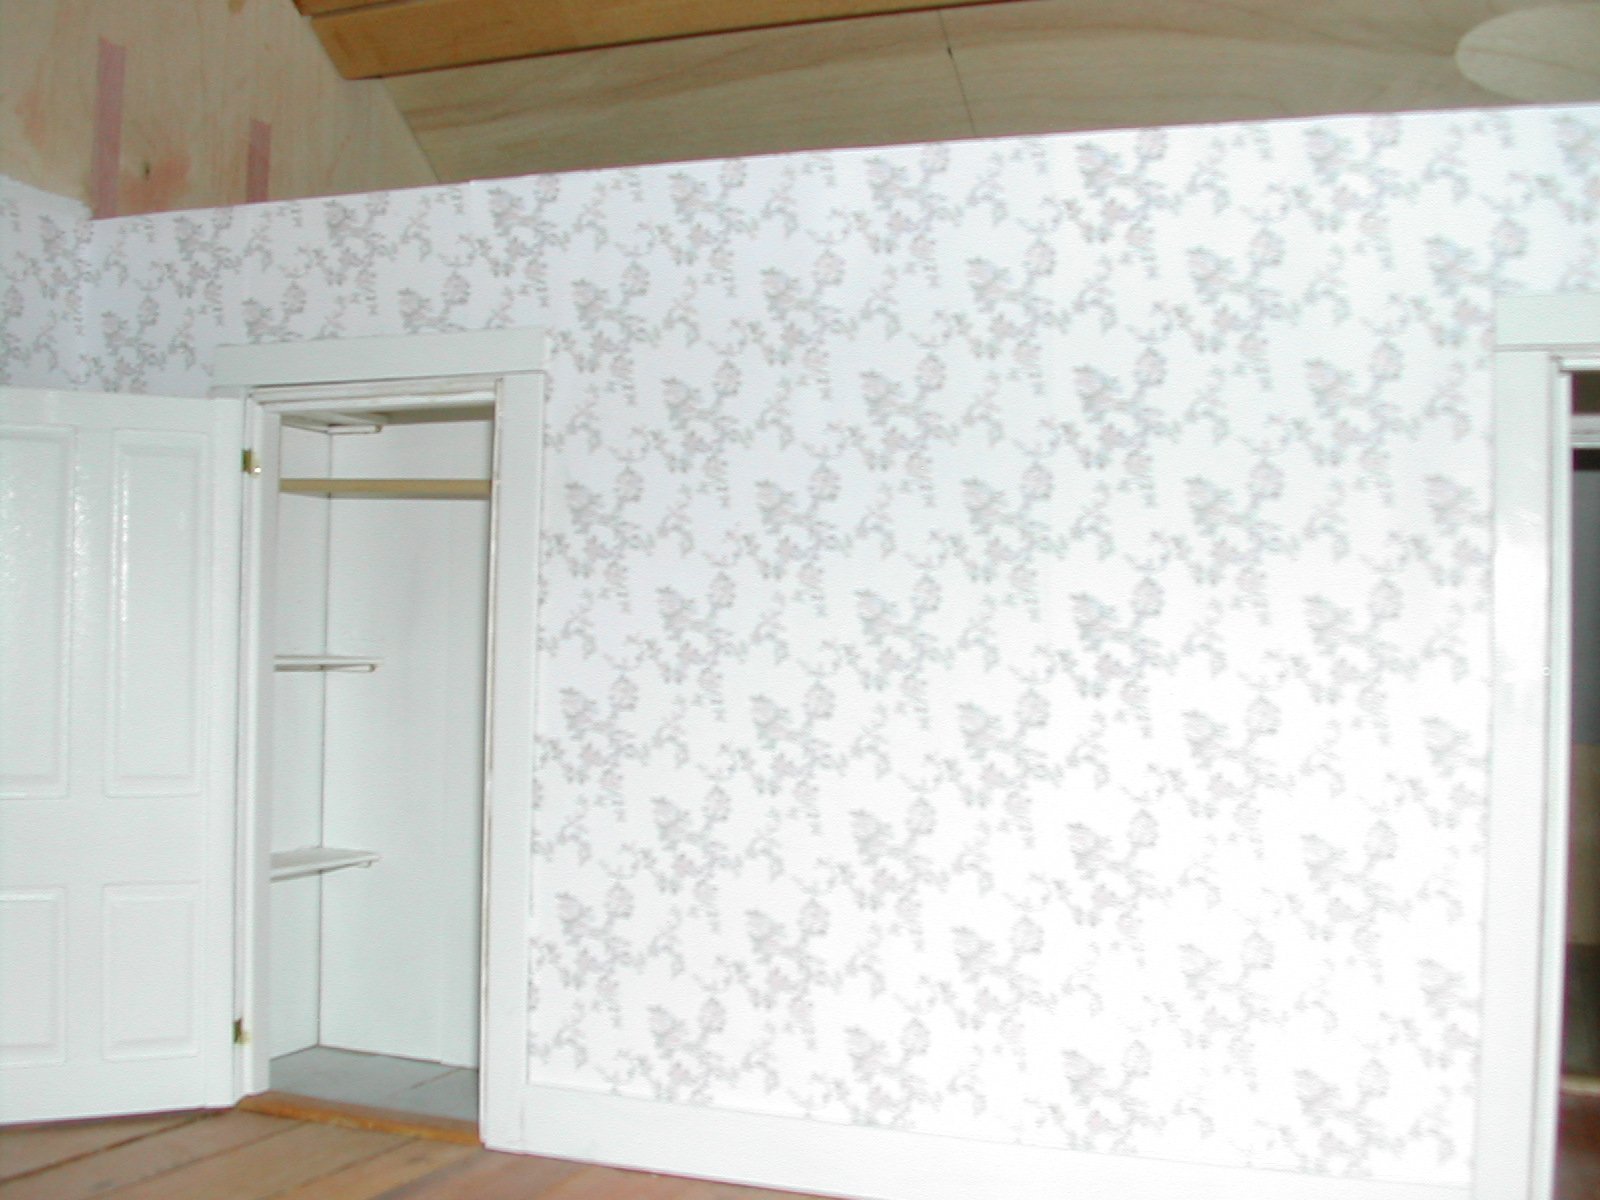
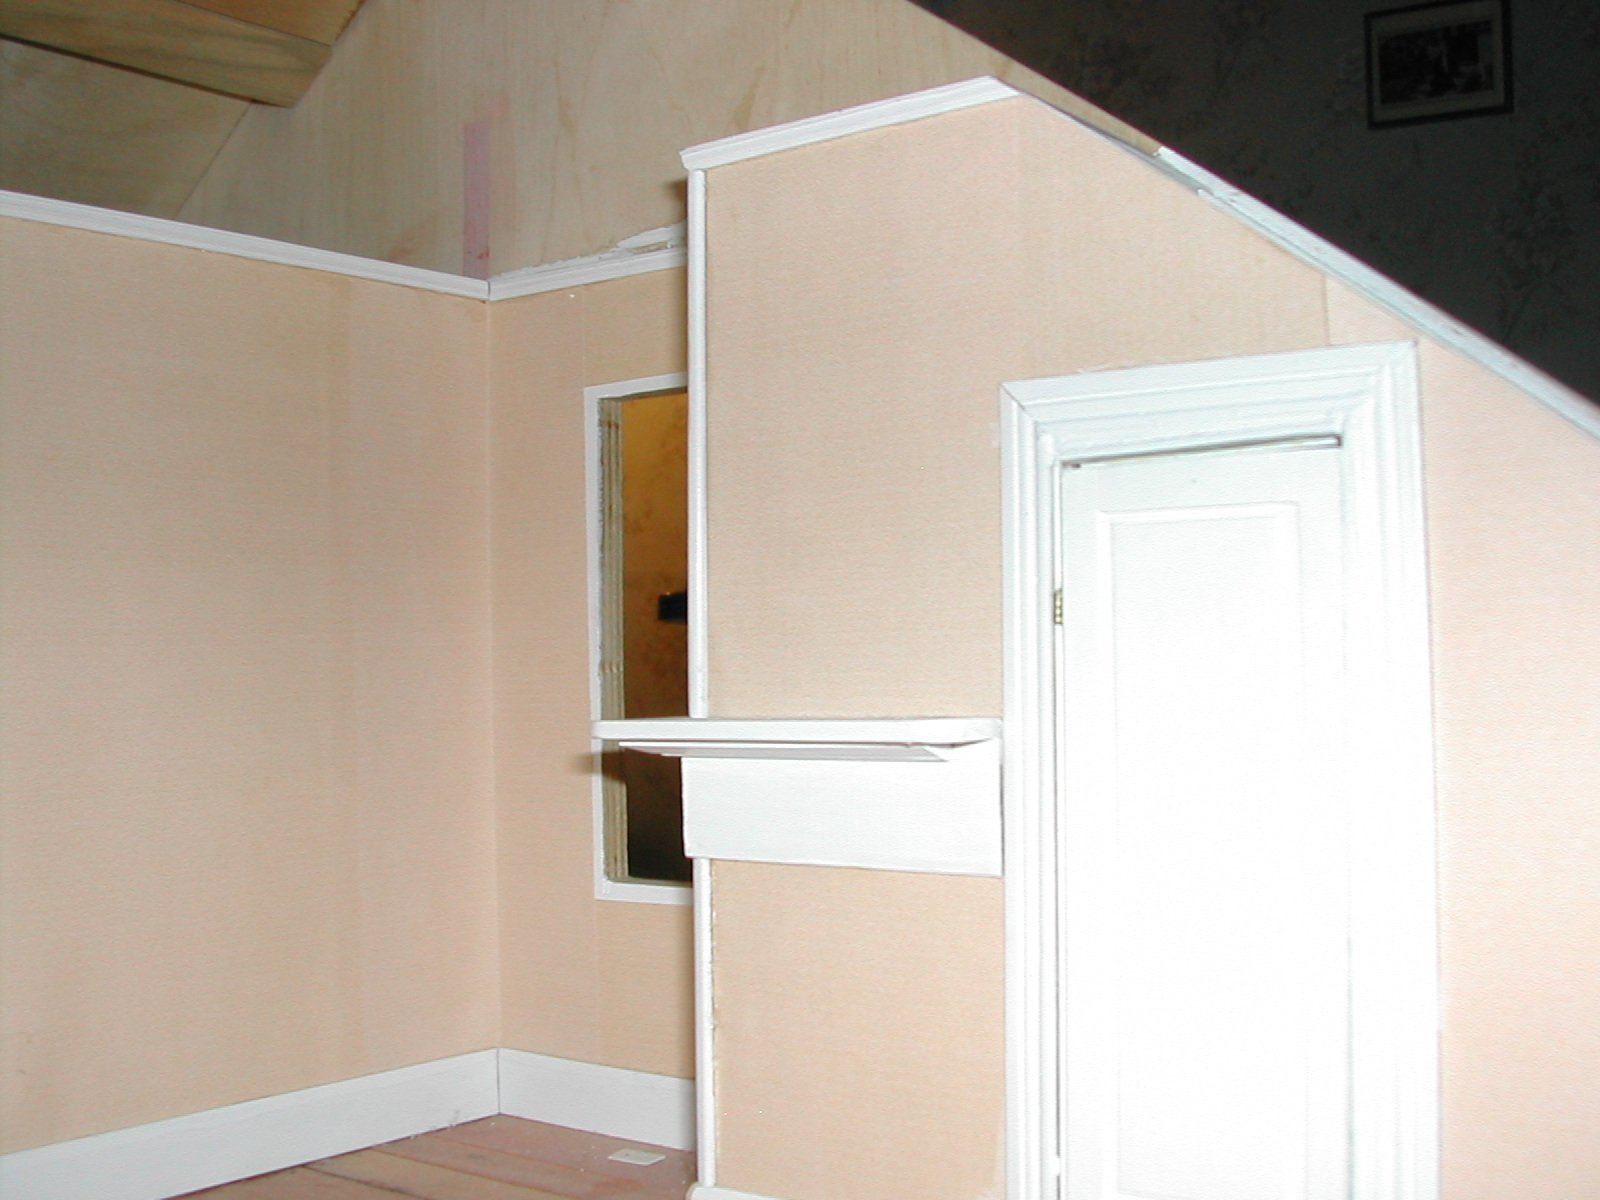
| A peek inside the guest room closet
shows the shelves on the side and the bar on which hangers sit as
well. The floors of all closets, whether for clothes or dishes
were traditionally painted gray. |
 |
In
the sitting room, as well as the master bedroom, there is a mantle
that curves around the chimney wall. The mantle runs from the closet
door frame all of the way to the window frame. The configuration of
this in the master bedroom appears as a mirror image.
|
 |
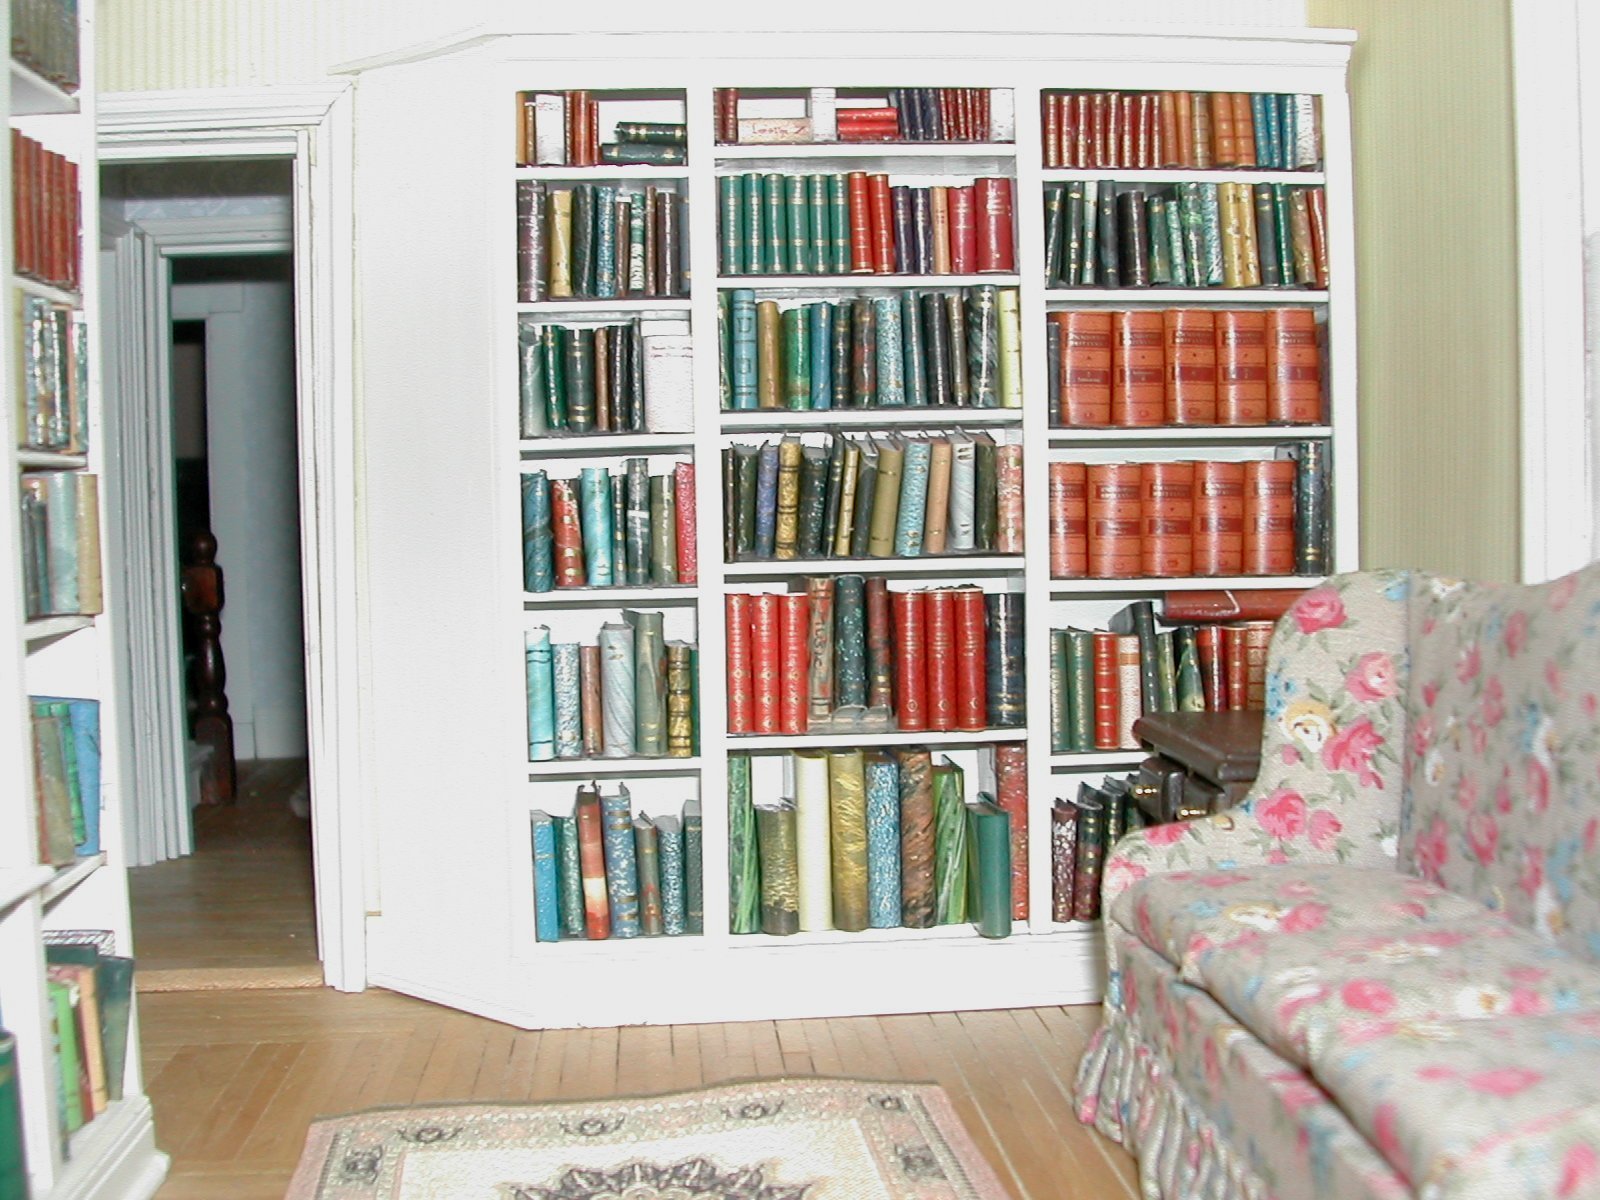
More
woodwork shows up in the small library. The house is very detailed
throughout with beautiful wood trim.
|
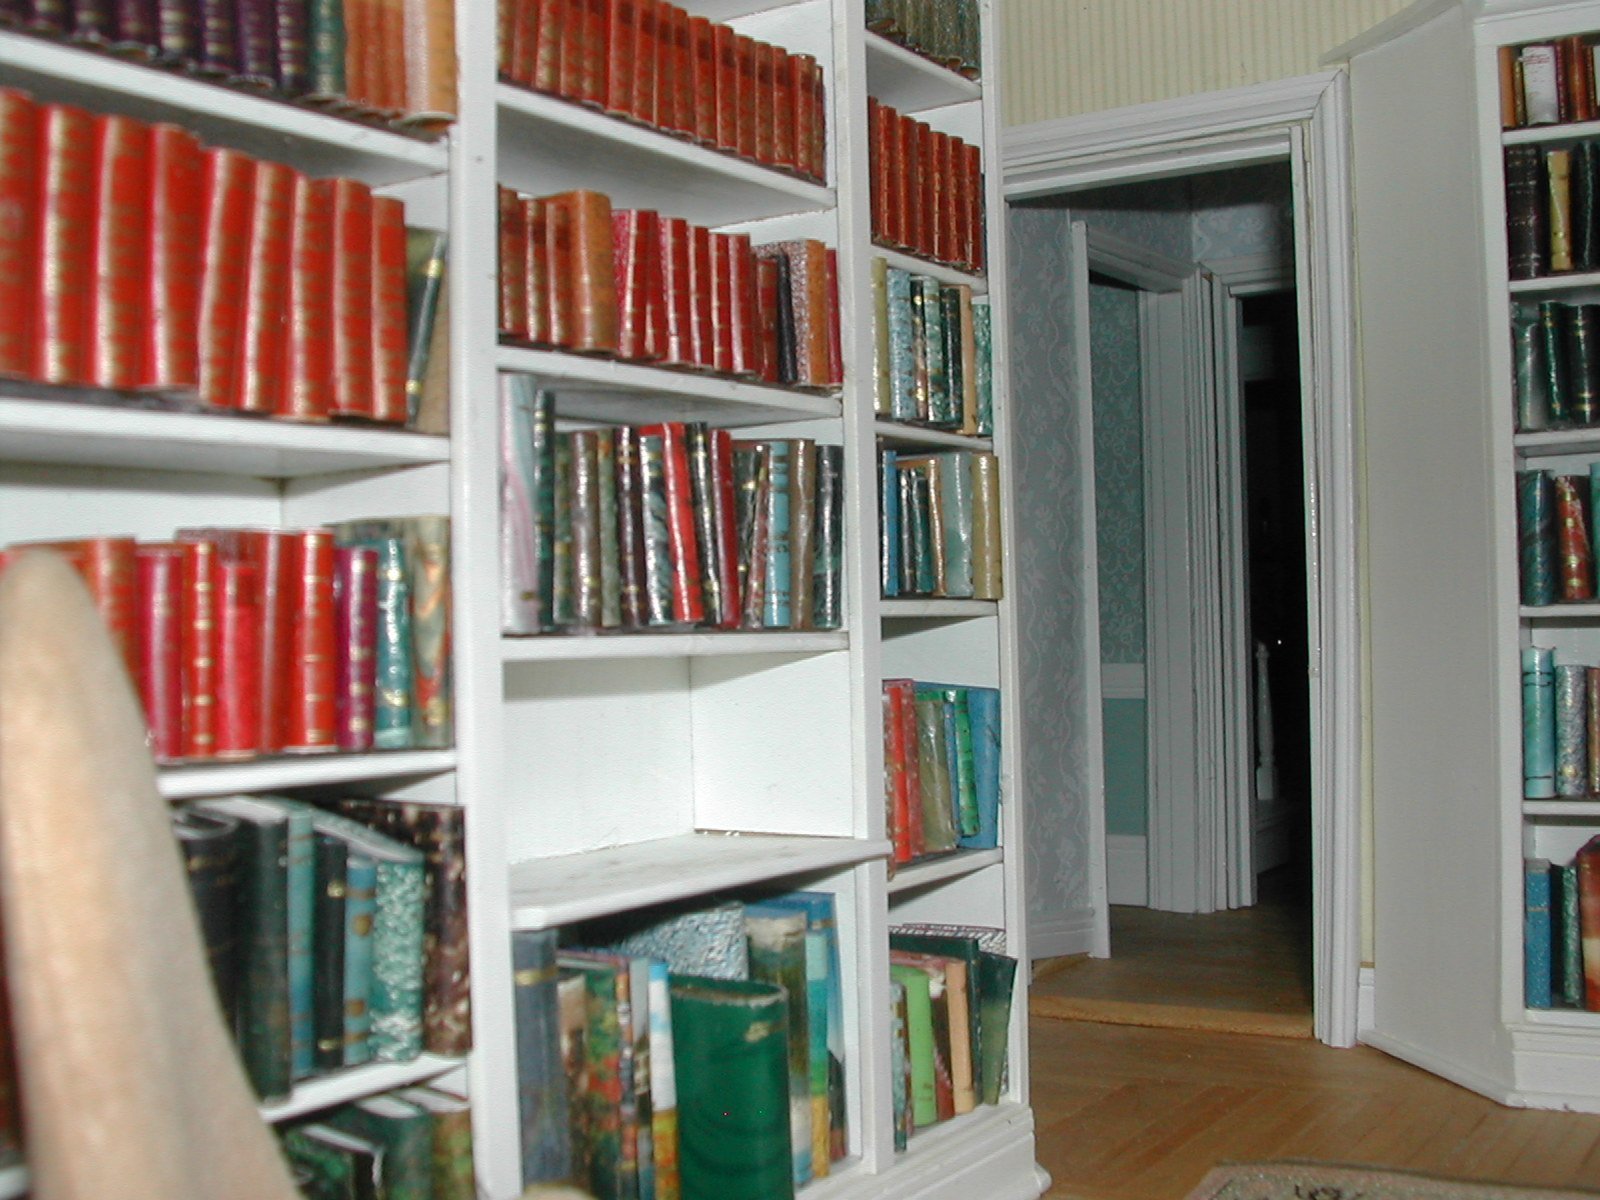 |
Another
view of the bookcases.
|
 |