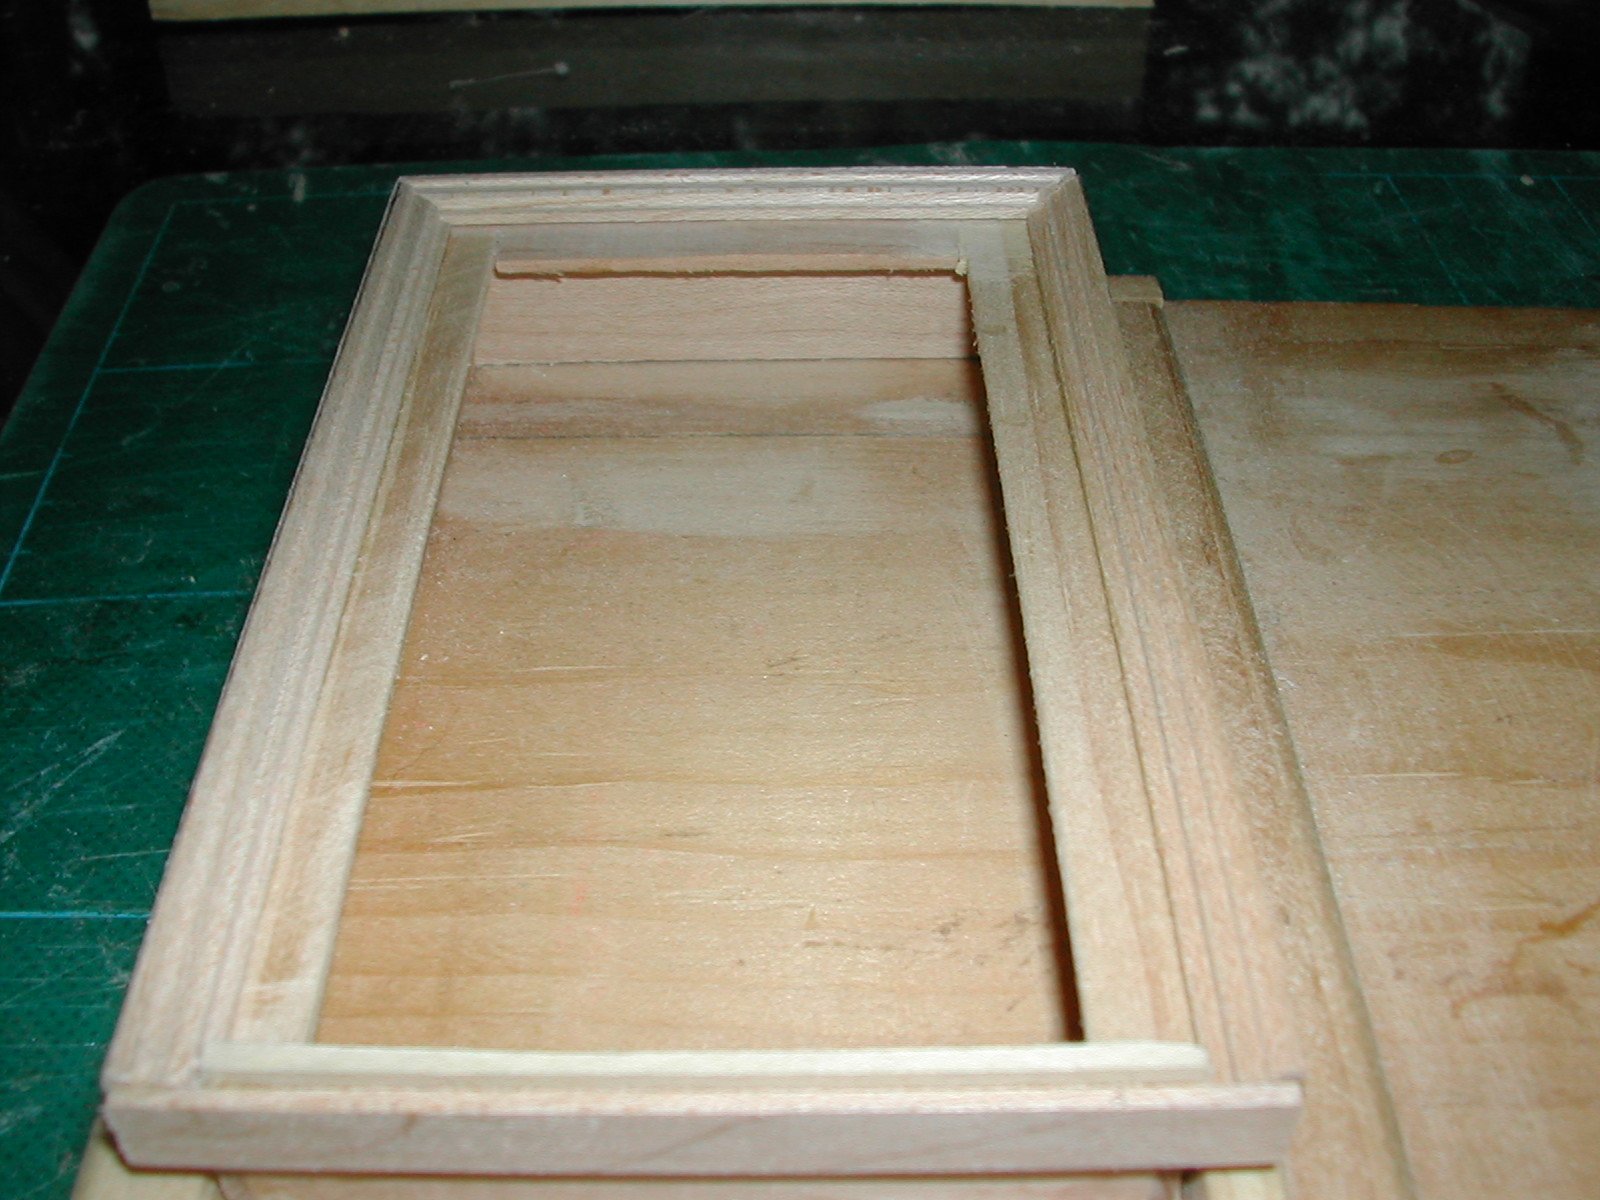
| The
photograph on the right shows a completed window casement including the
exterior sill and molding resting in its jig. These parts were
glued together using Elmer's Carpenter's Wood Glue. |
 |
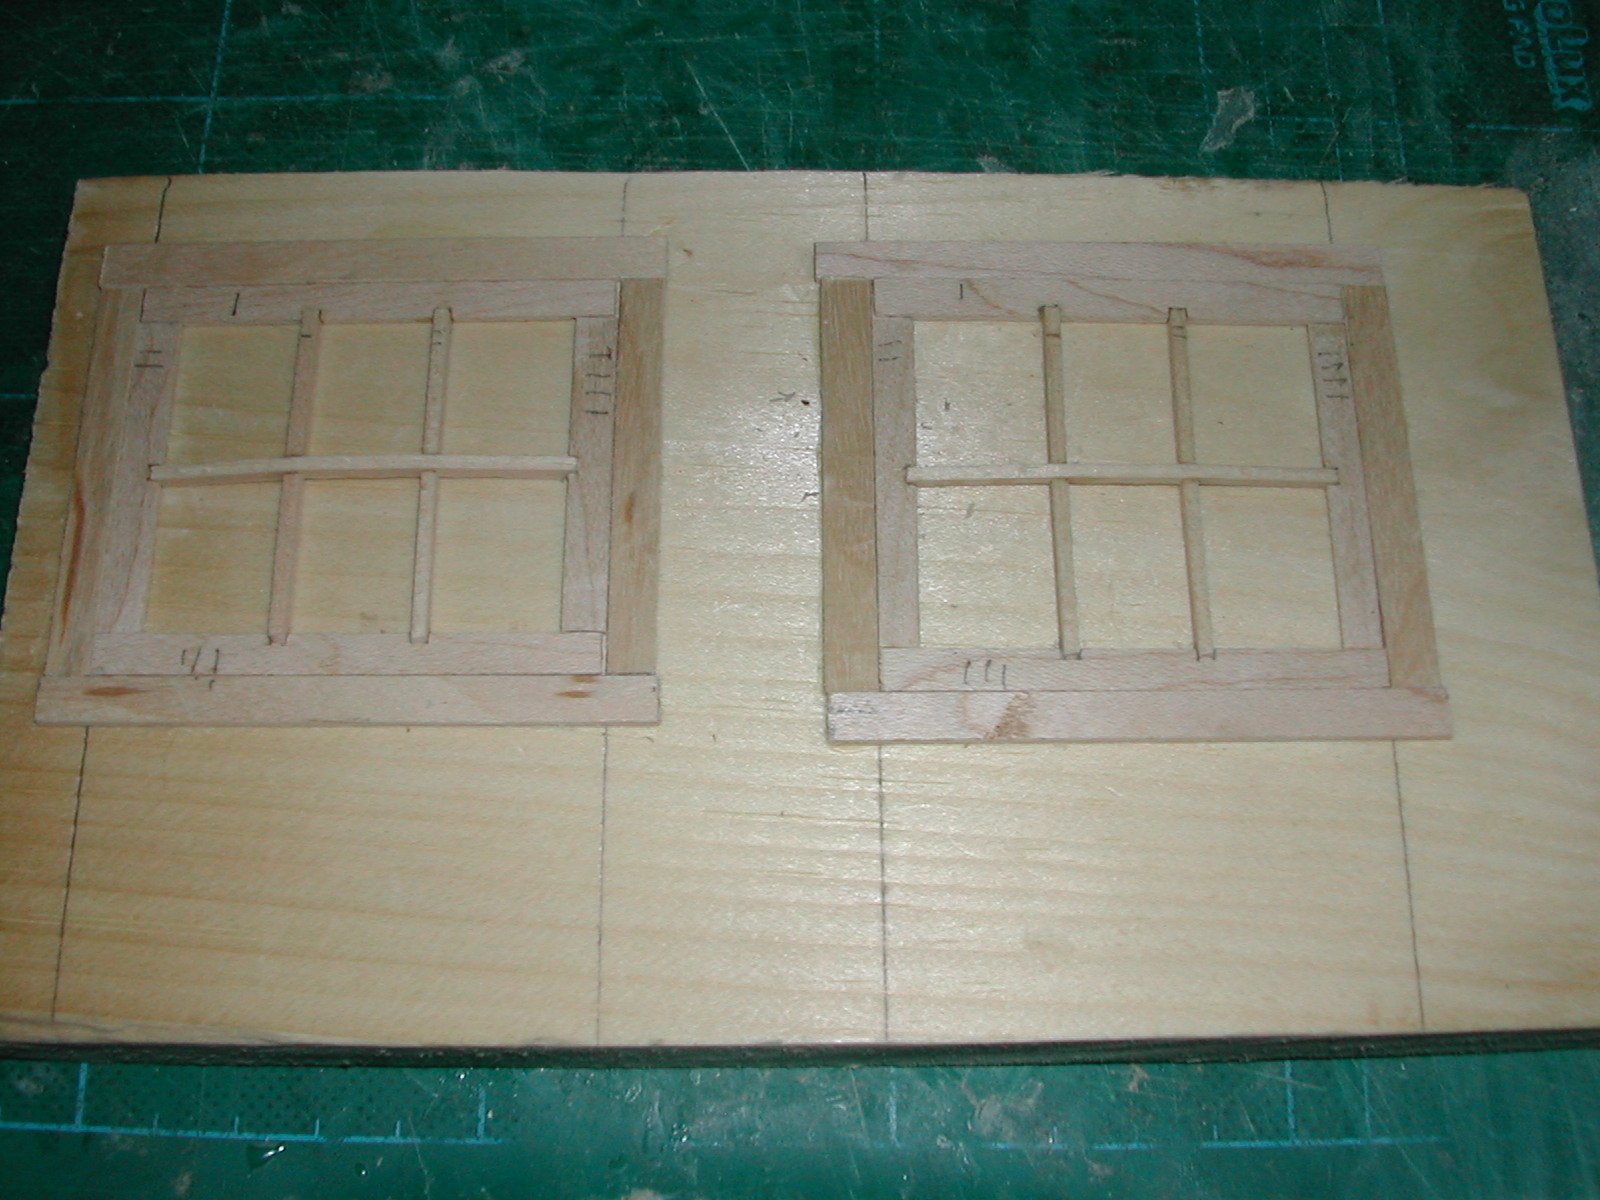
| The next step
is to construct the windows themselves. Shown on the accompanying
photograph are both sides of the lower window sash being assembled in
its jig. The outside frame for the windows is lapped rather than butted
to increase the gluing area. The mullions are notched as well as their
position on the frame and are glued into place again using Elmer's
Carpenter's Wood Glue. In addition, one side is 1/8" thick and the
other
side
only 1/16". A grove is cut in the thicker frame to hold the glass in
place. Rather than using glass, which can easily crack, we substituted
material cut
from clear CD jewel cases. This plastic can be cut with the Jarmac
table
saw. However the heat from the saw leaves a very rough and partially
melted edge which then has to be sanded smooth. The advantages of using
this plastic is that it looks like glass, it is the proper thickness,
it does not discolor from age or exposure to light and it is safe for
children to handle. |
 |
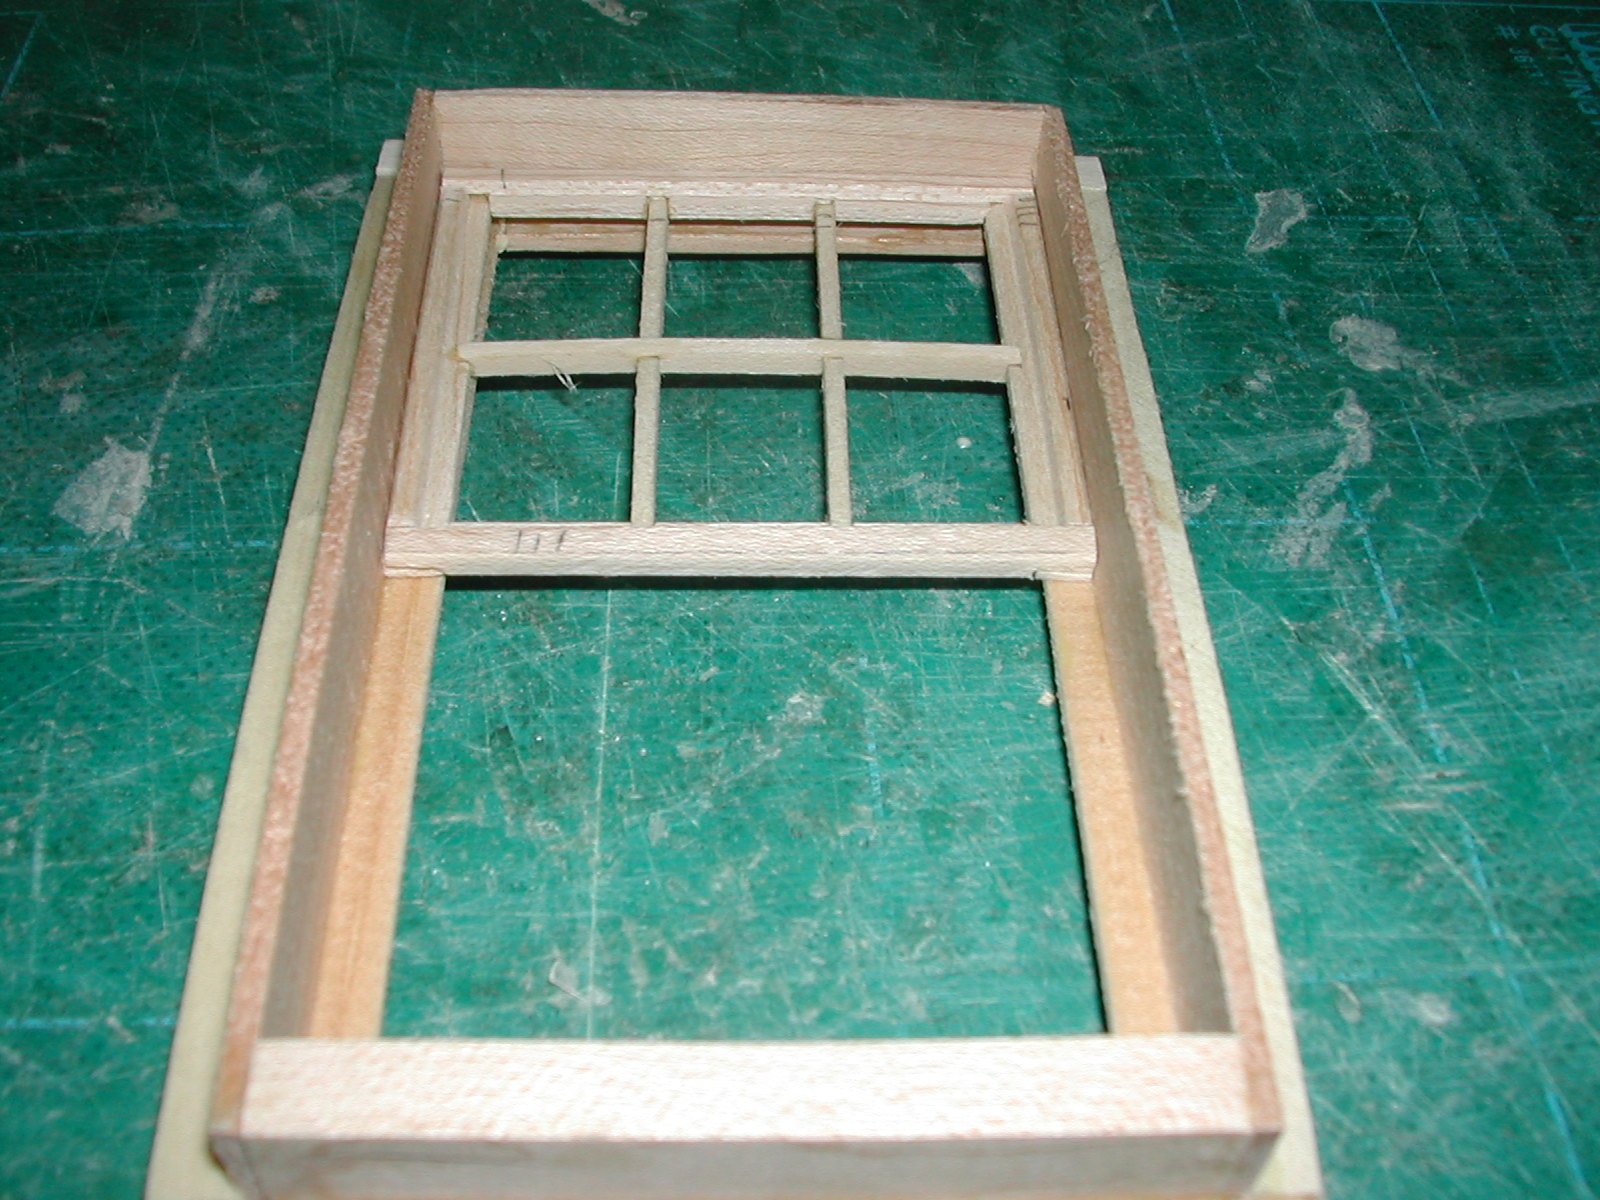
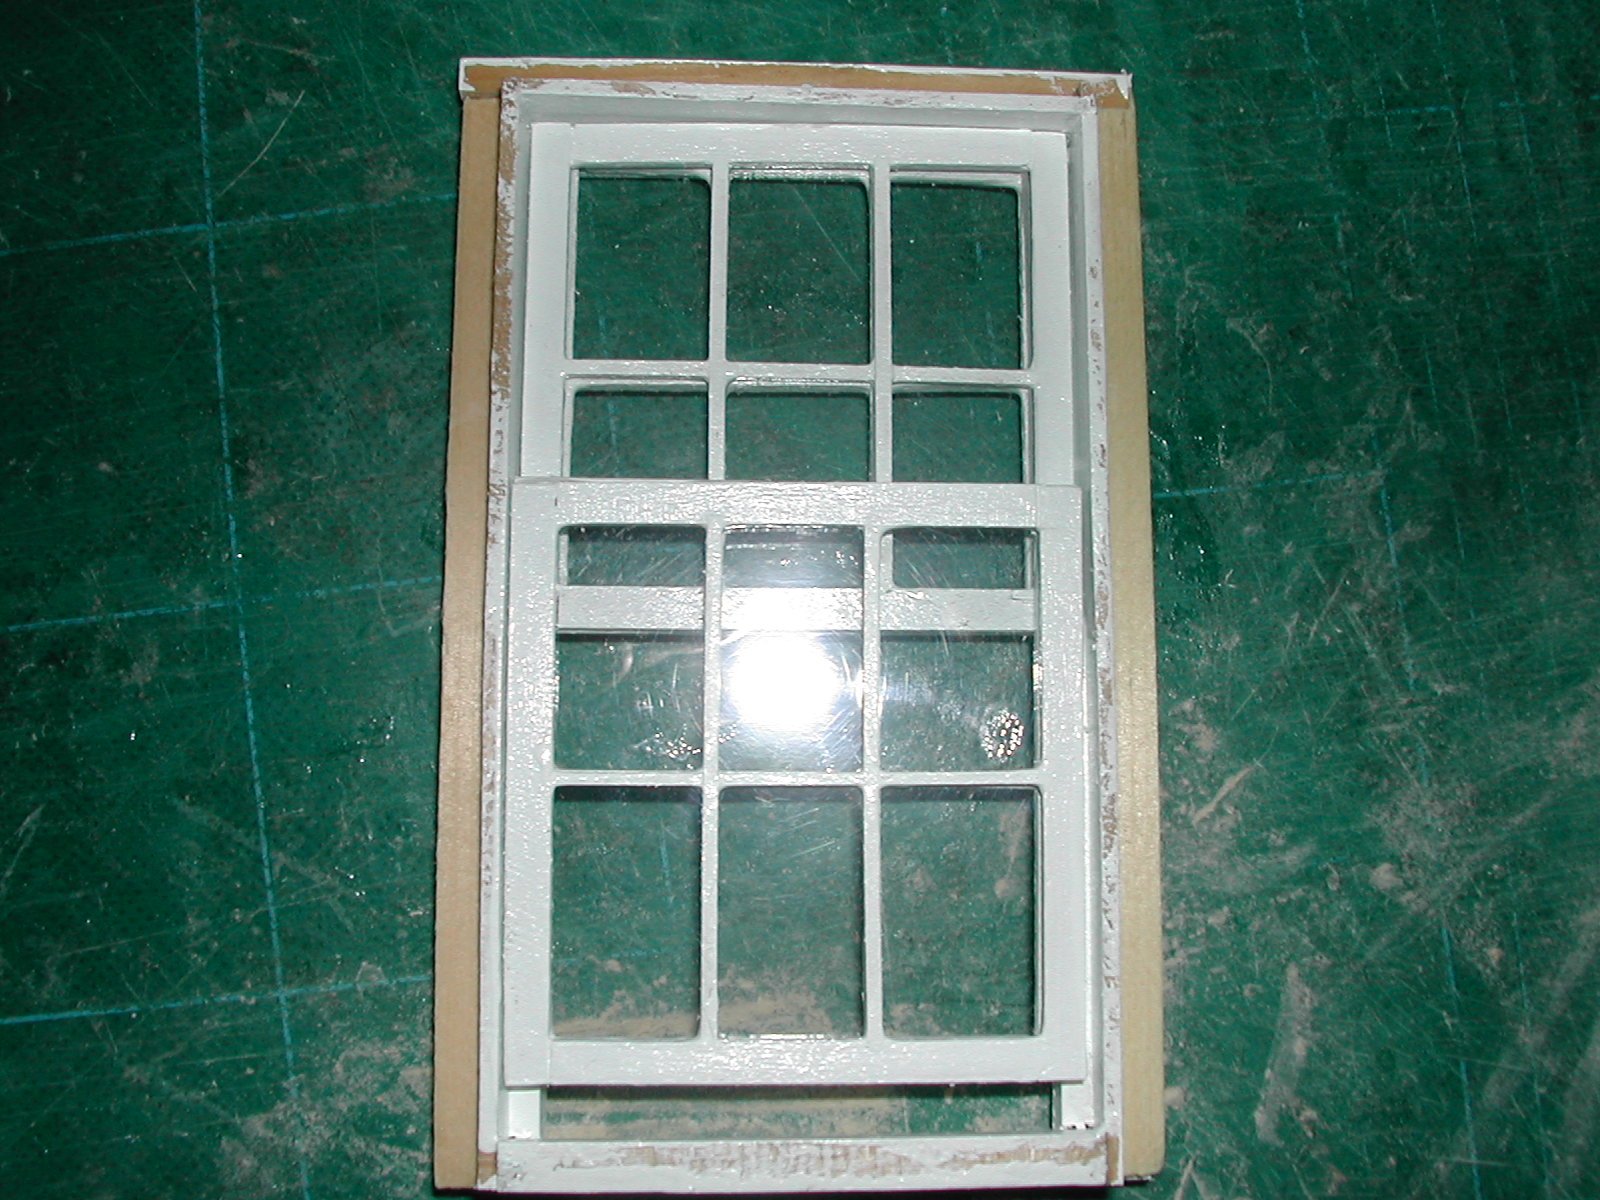
Each half of the window is then sanded to a smooth finish making sure that the mullions have a flat surface. The plastic serving as the glass pane is then put in place and the two halves assembled for a position and size check. The photograph on the right shows the upper window sash in place. In the real house the upper window sashes are sealed in place and only the lower window sashes move up or down. Thus an extra strip of wood is glued in place to hold the upper window in its proper position. This extra strip also allows the lower window to slide up and down more smoothly. |
 |
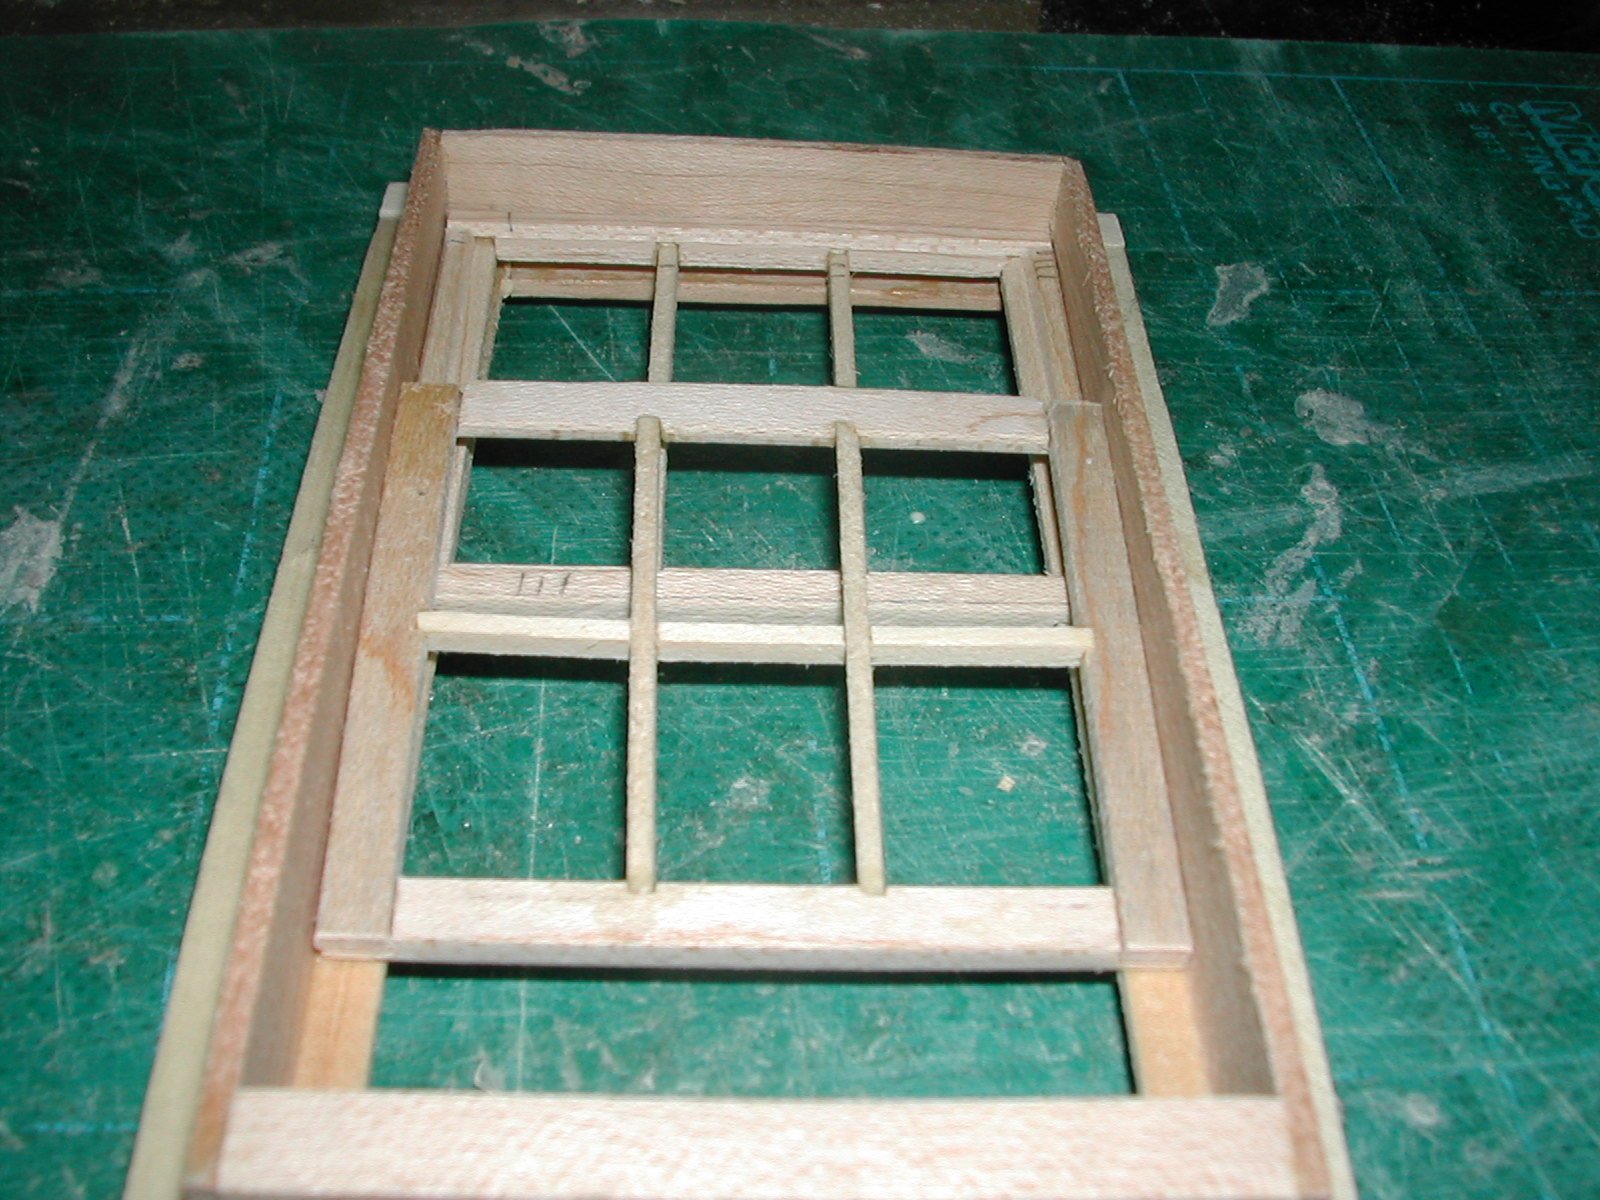
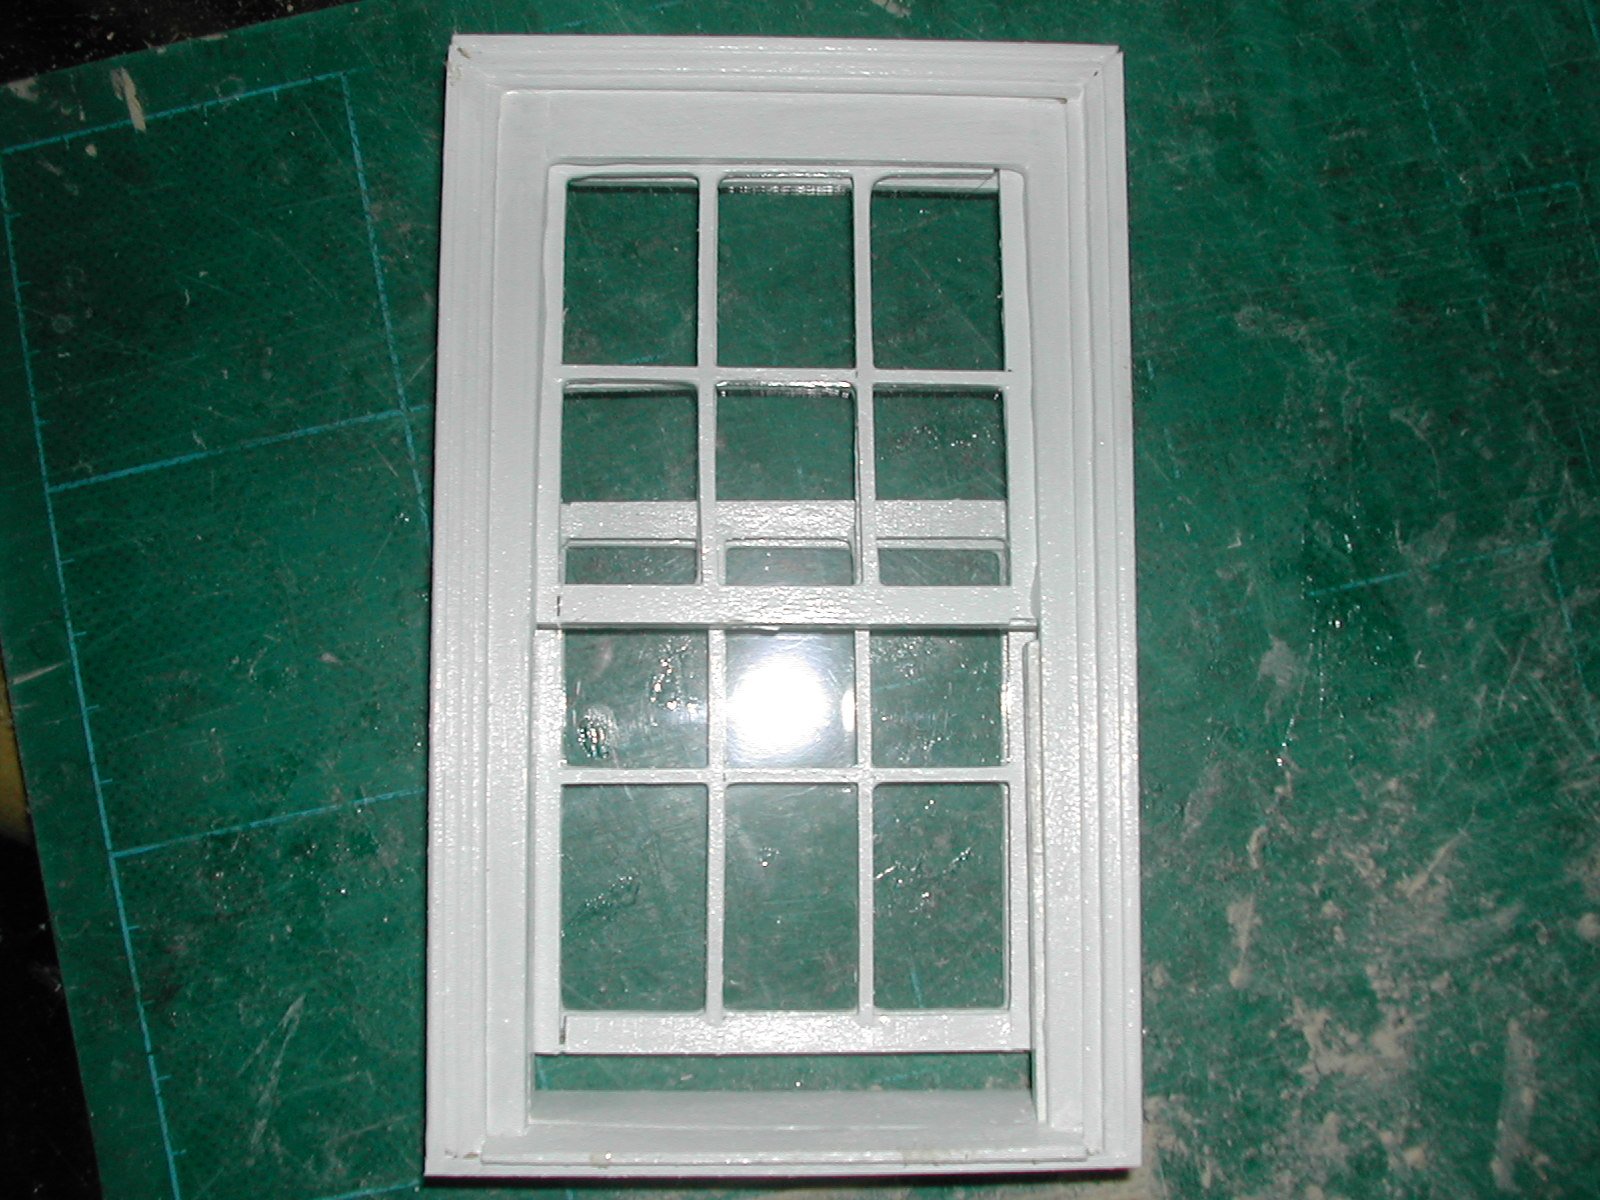
| The next photograph shows the lower window sash in place for a position and size check. This window is carefully sanded so that it slides smoothly up and down. The parts for the complete unit are now ready for painting. The unit is given two primer coats of white outdoor paint and two coats of high gloss finish paint. The mullions are painted prior to the installation of the "window glass". The two halves of the window are then assembled with the plastic window in place and glued with five minute epoxy. |
 |
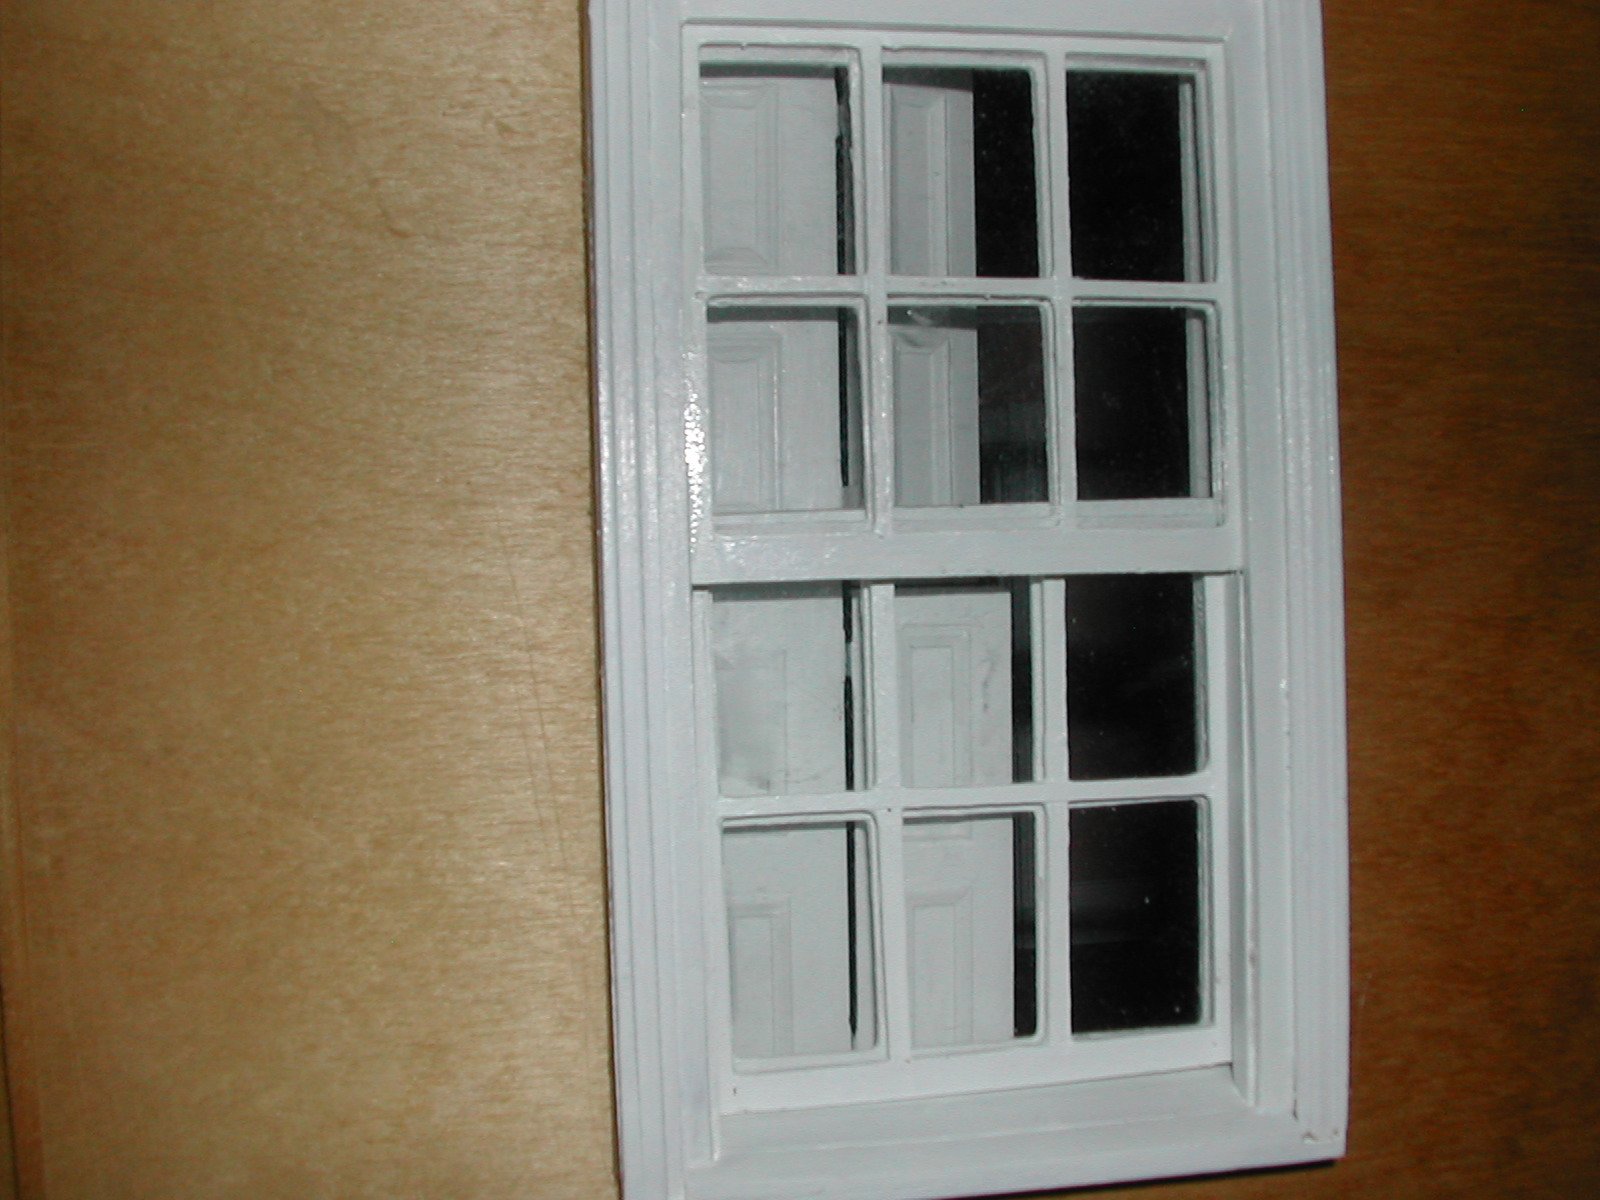
| The
photograph on the right shows a complete window unit ready for
mounting on the shell. The view is of the interior side of the window. |
 |
| This
photograph shows the exterior side of the window including the window
molding and exterior window sill. The lower window sash is partially
raised. |
 |
| This
photograph shows an exterior view of a living room window glued in
place. Behind the window you can see the Indian shutters partially
open. You may note that the exterior house siding is not as yet
installed. |
 |
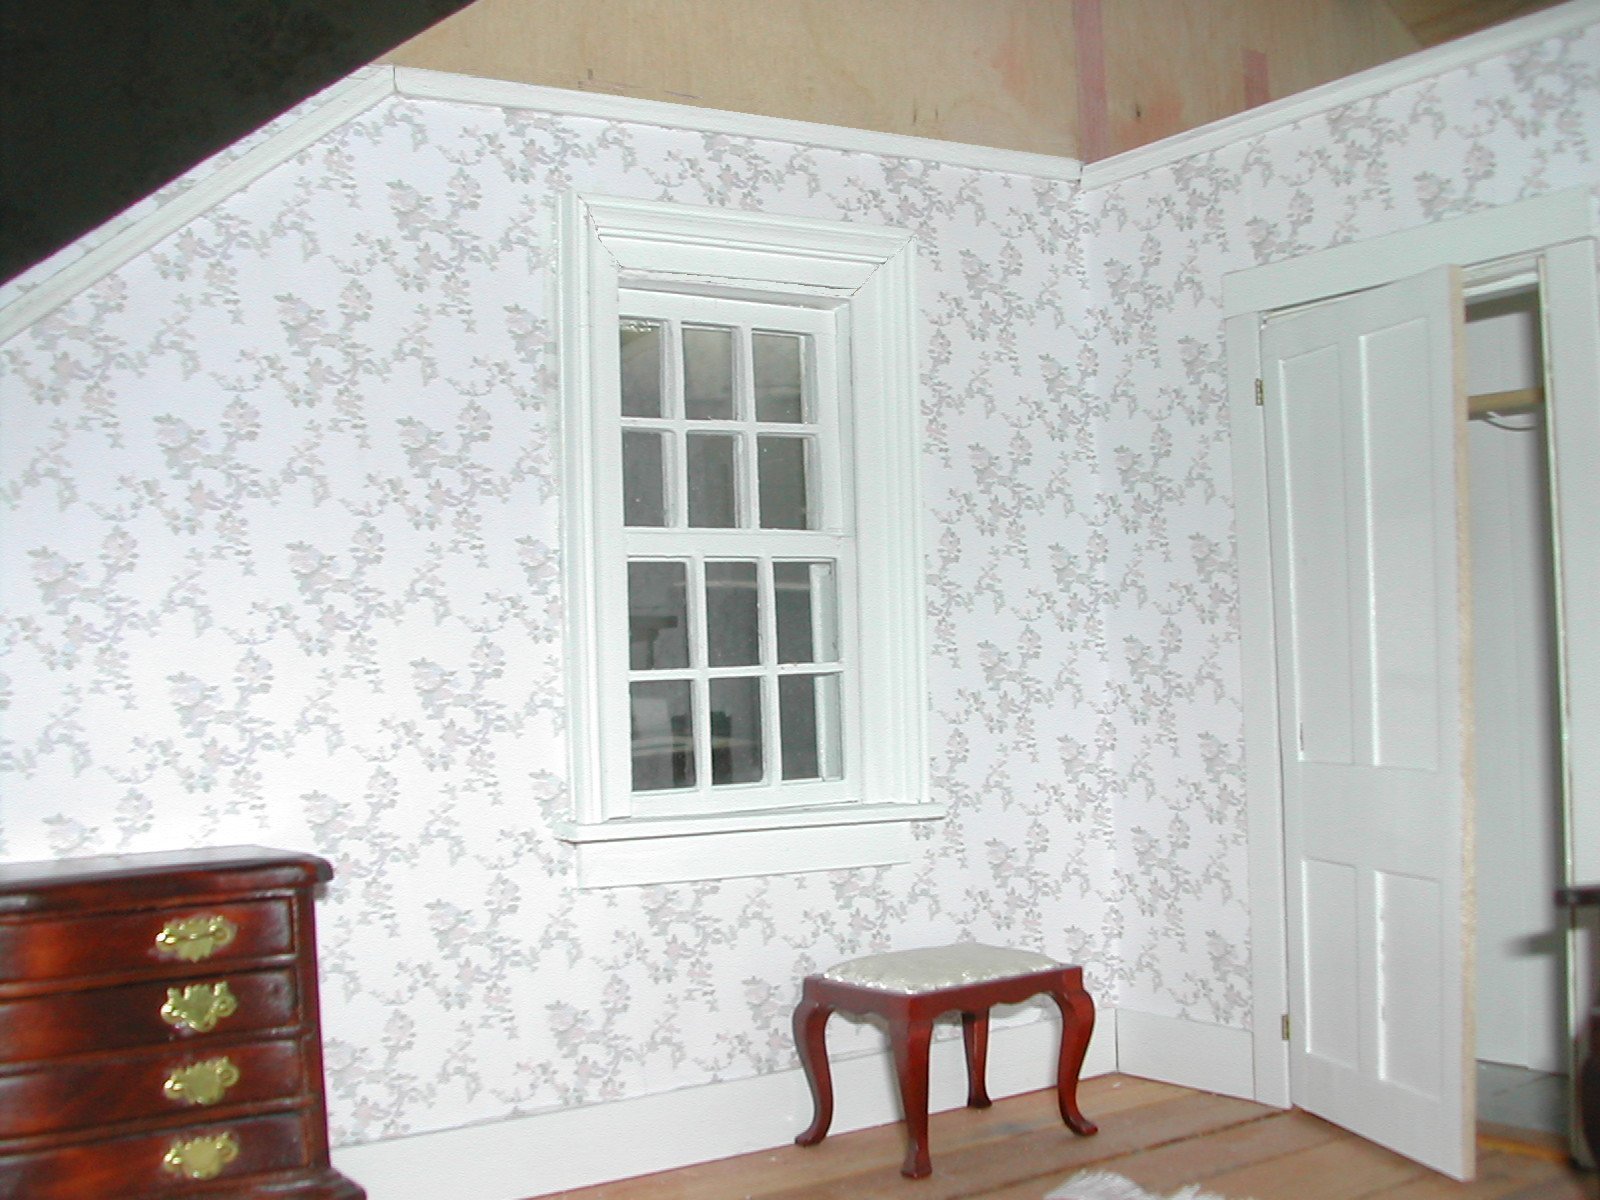
| The final
photograph shows an interior view of a window in the guest bedroom.
The interior molding and sills are now in place. We are not aware of
another dollhouse that has actual window sills on the inside. |
 |